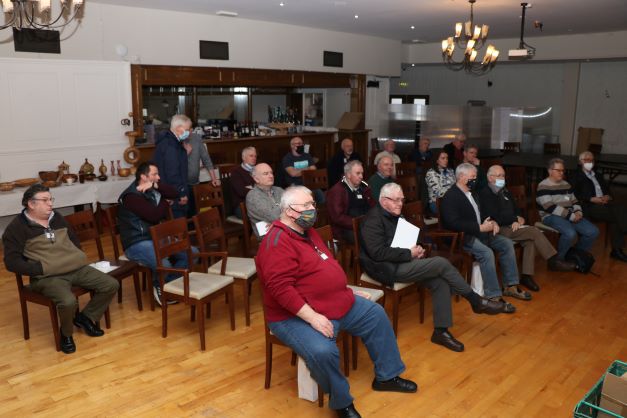
The 2022 Craobh Eo Seminar was held on Sat 26th February in the Gateway Hotel, Swinford.
CraobhEo Chairman, Tom Jordan opened the seminar and welcomed delegates from around the country to Swinford, Co. Mayo after two years.
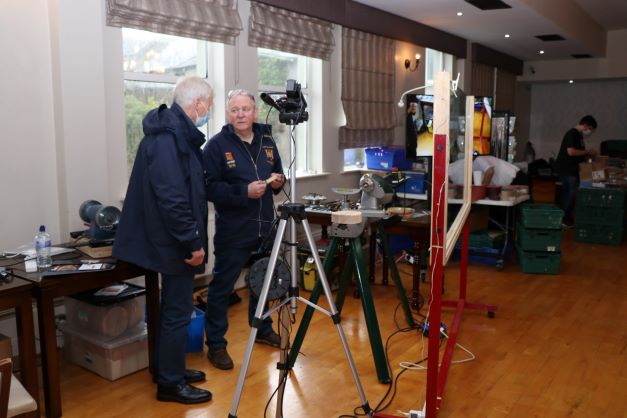
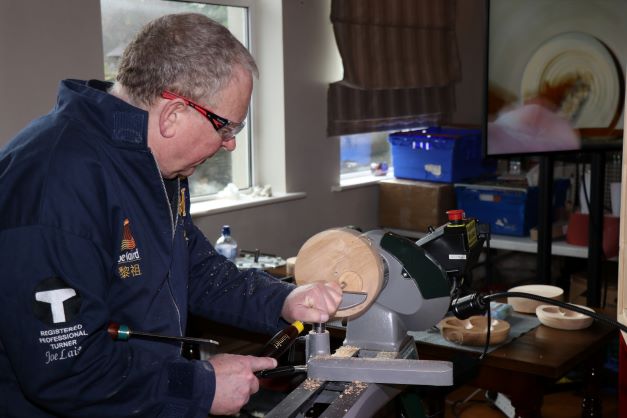
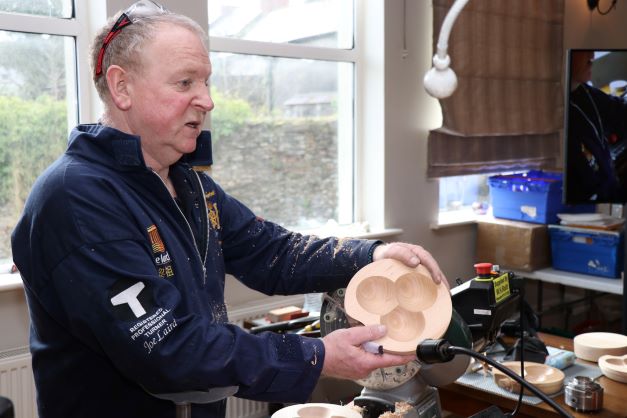
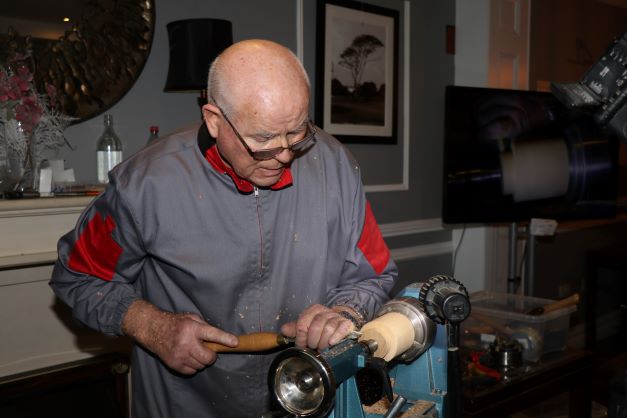
Demonstrators for the day were Joe Laird (Craobh Cúig Déag) and John Flynn (South East Chapter).

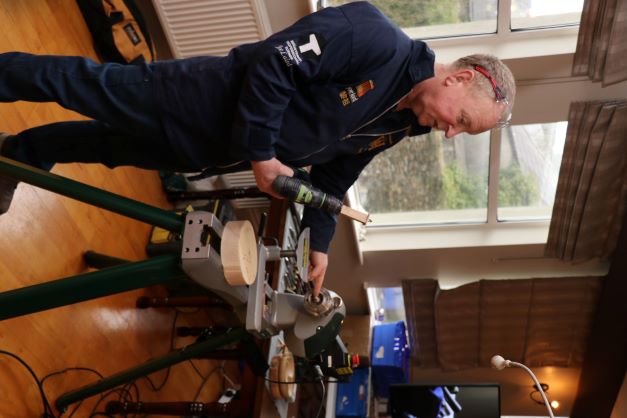
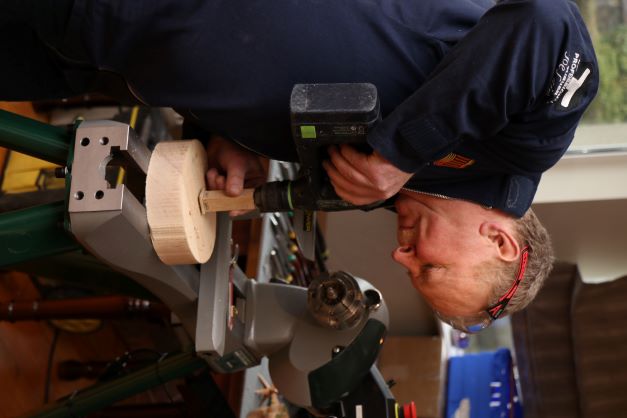
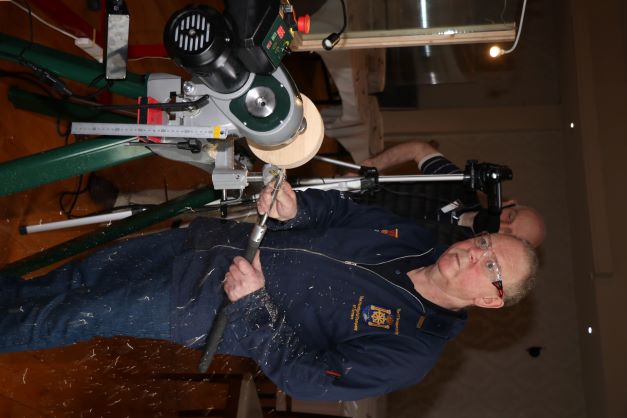
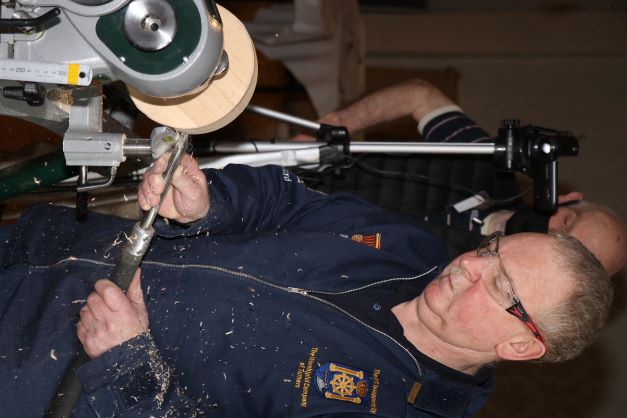
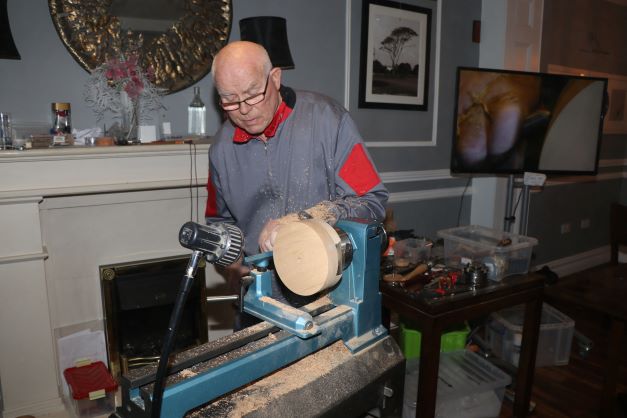
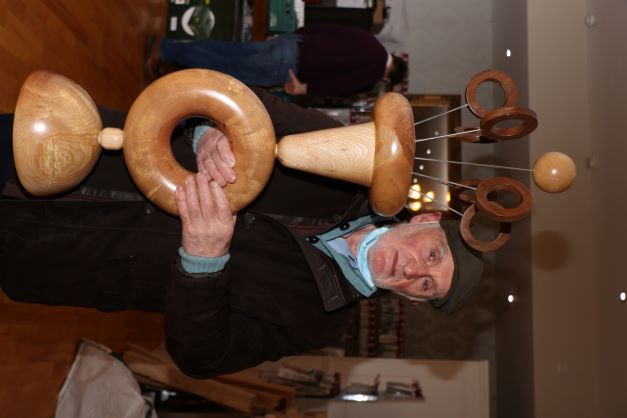
Joe Laird Demonstration
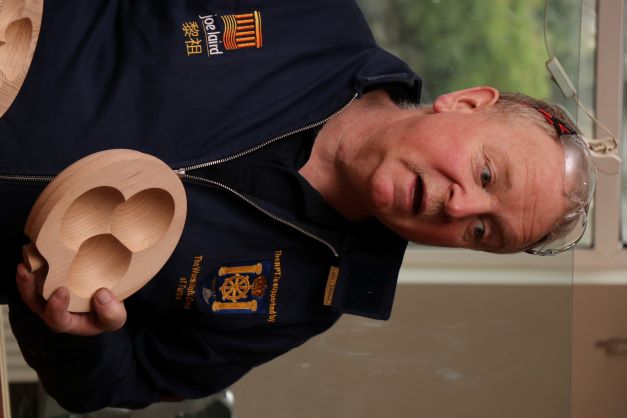
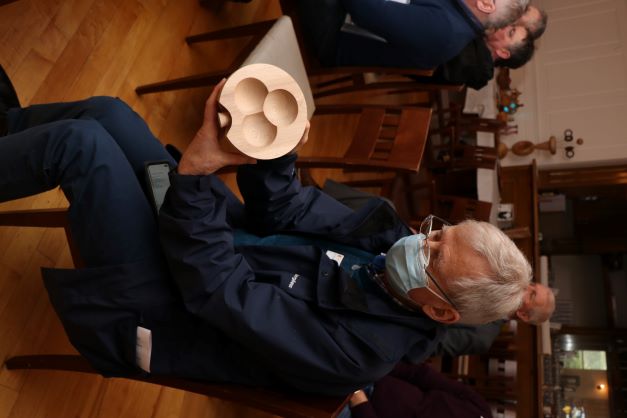
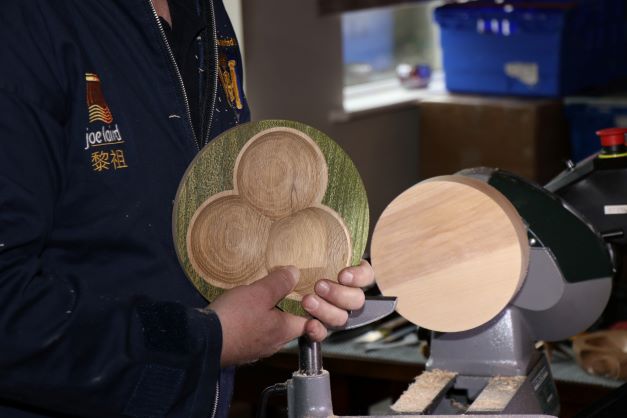
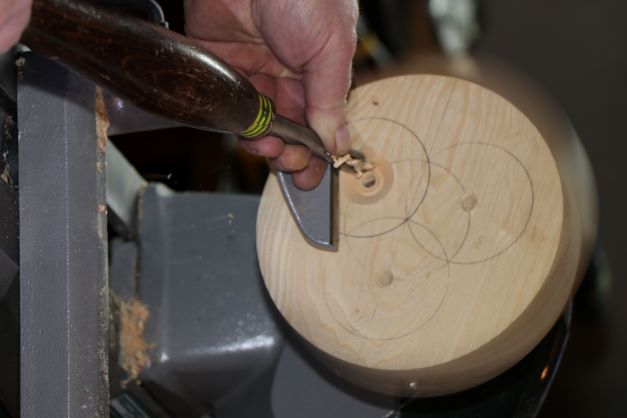
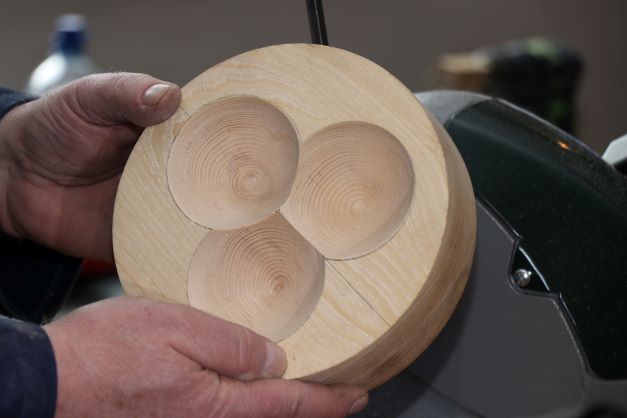
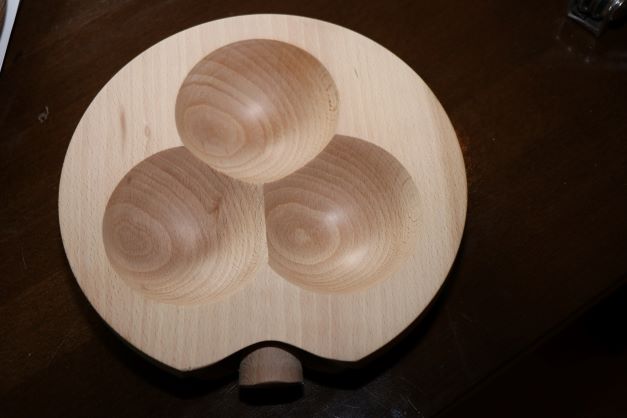
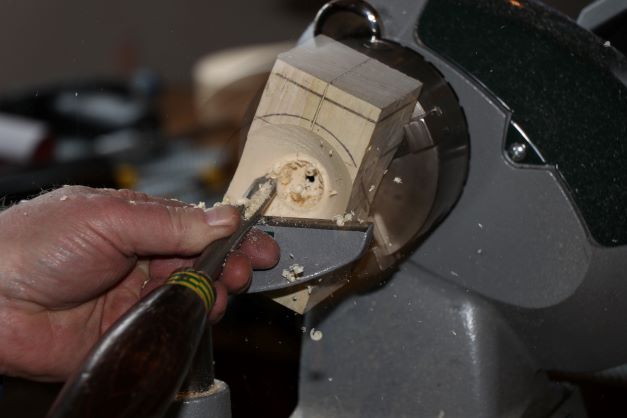
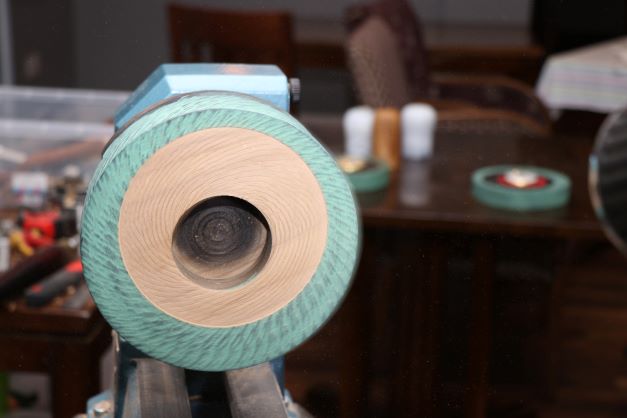
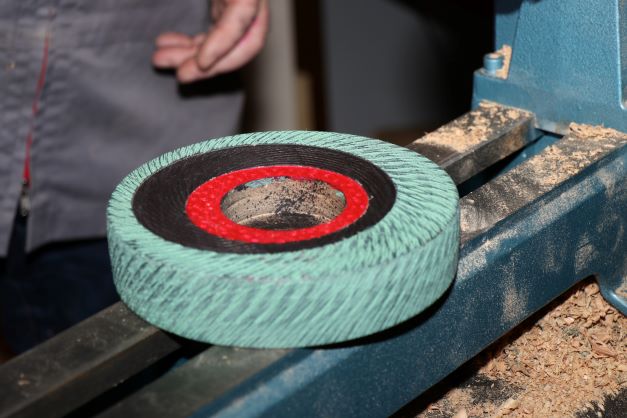
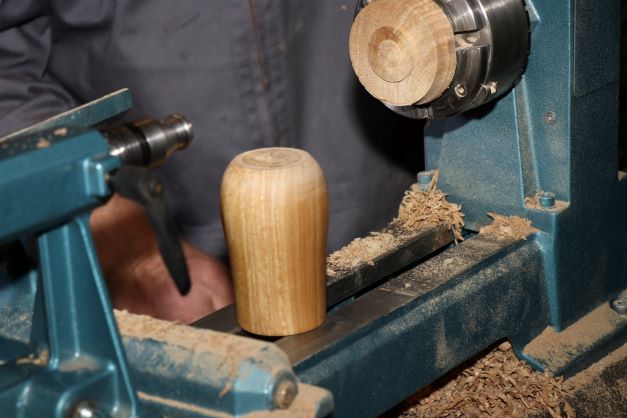
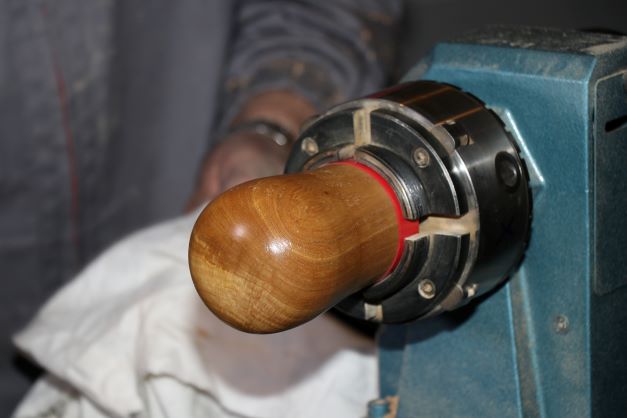
Shamrock bowl.
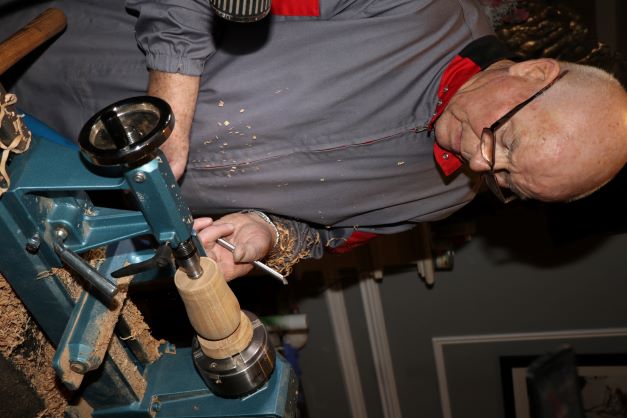
Joe went through his shamrock bowl demo to start with and explained what he was going to do during the demo.
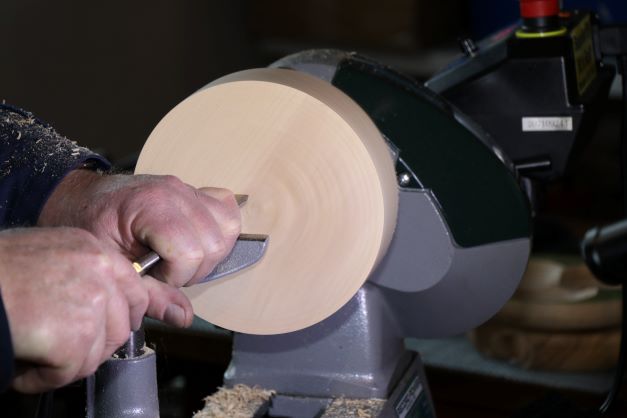
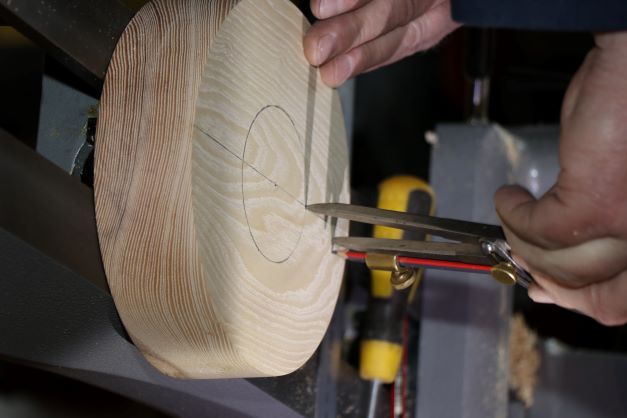
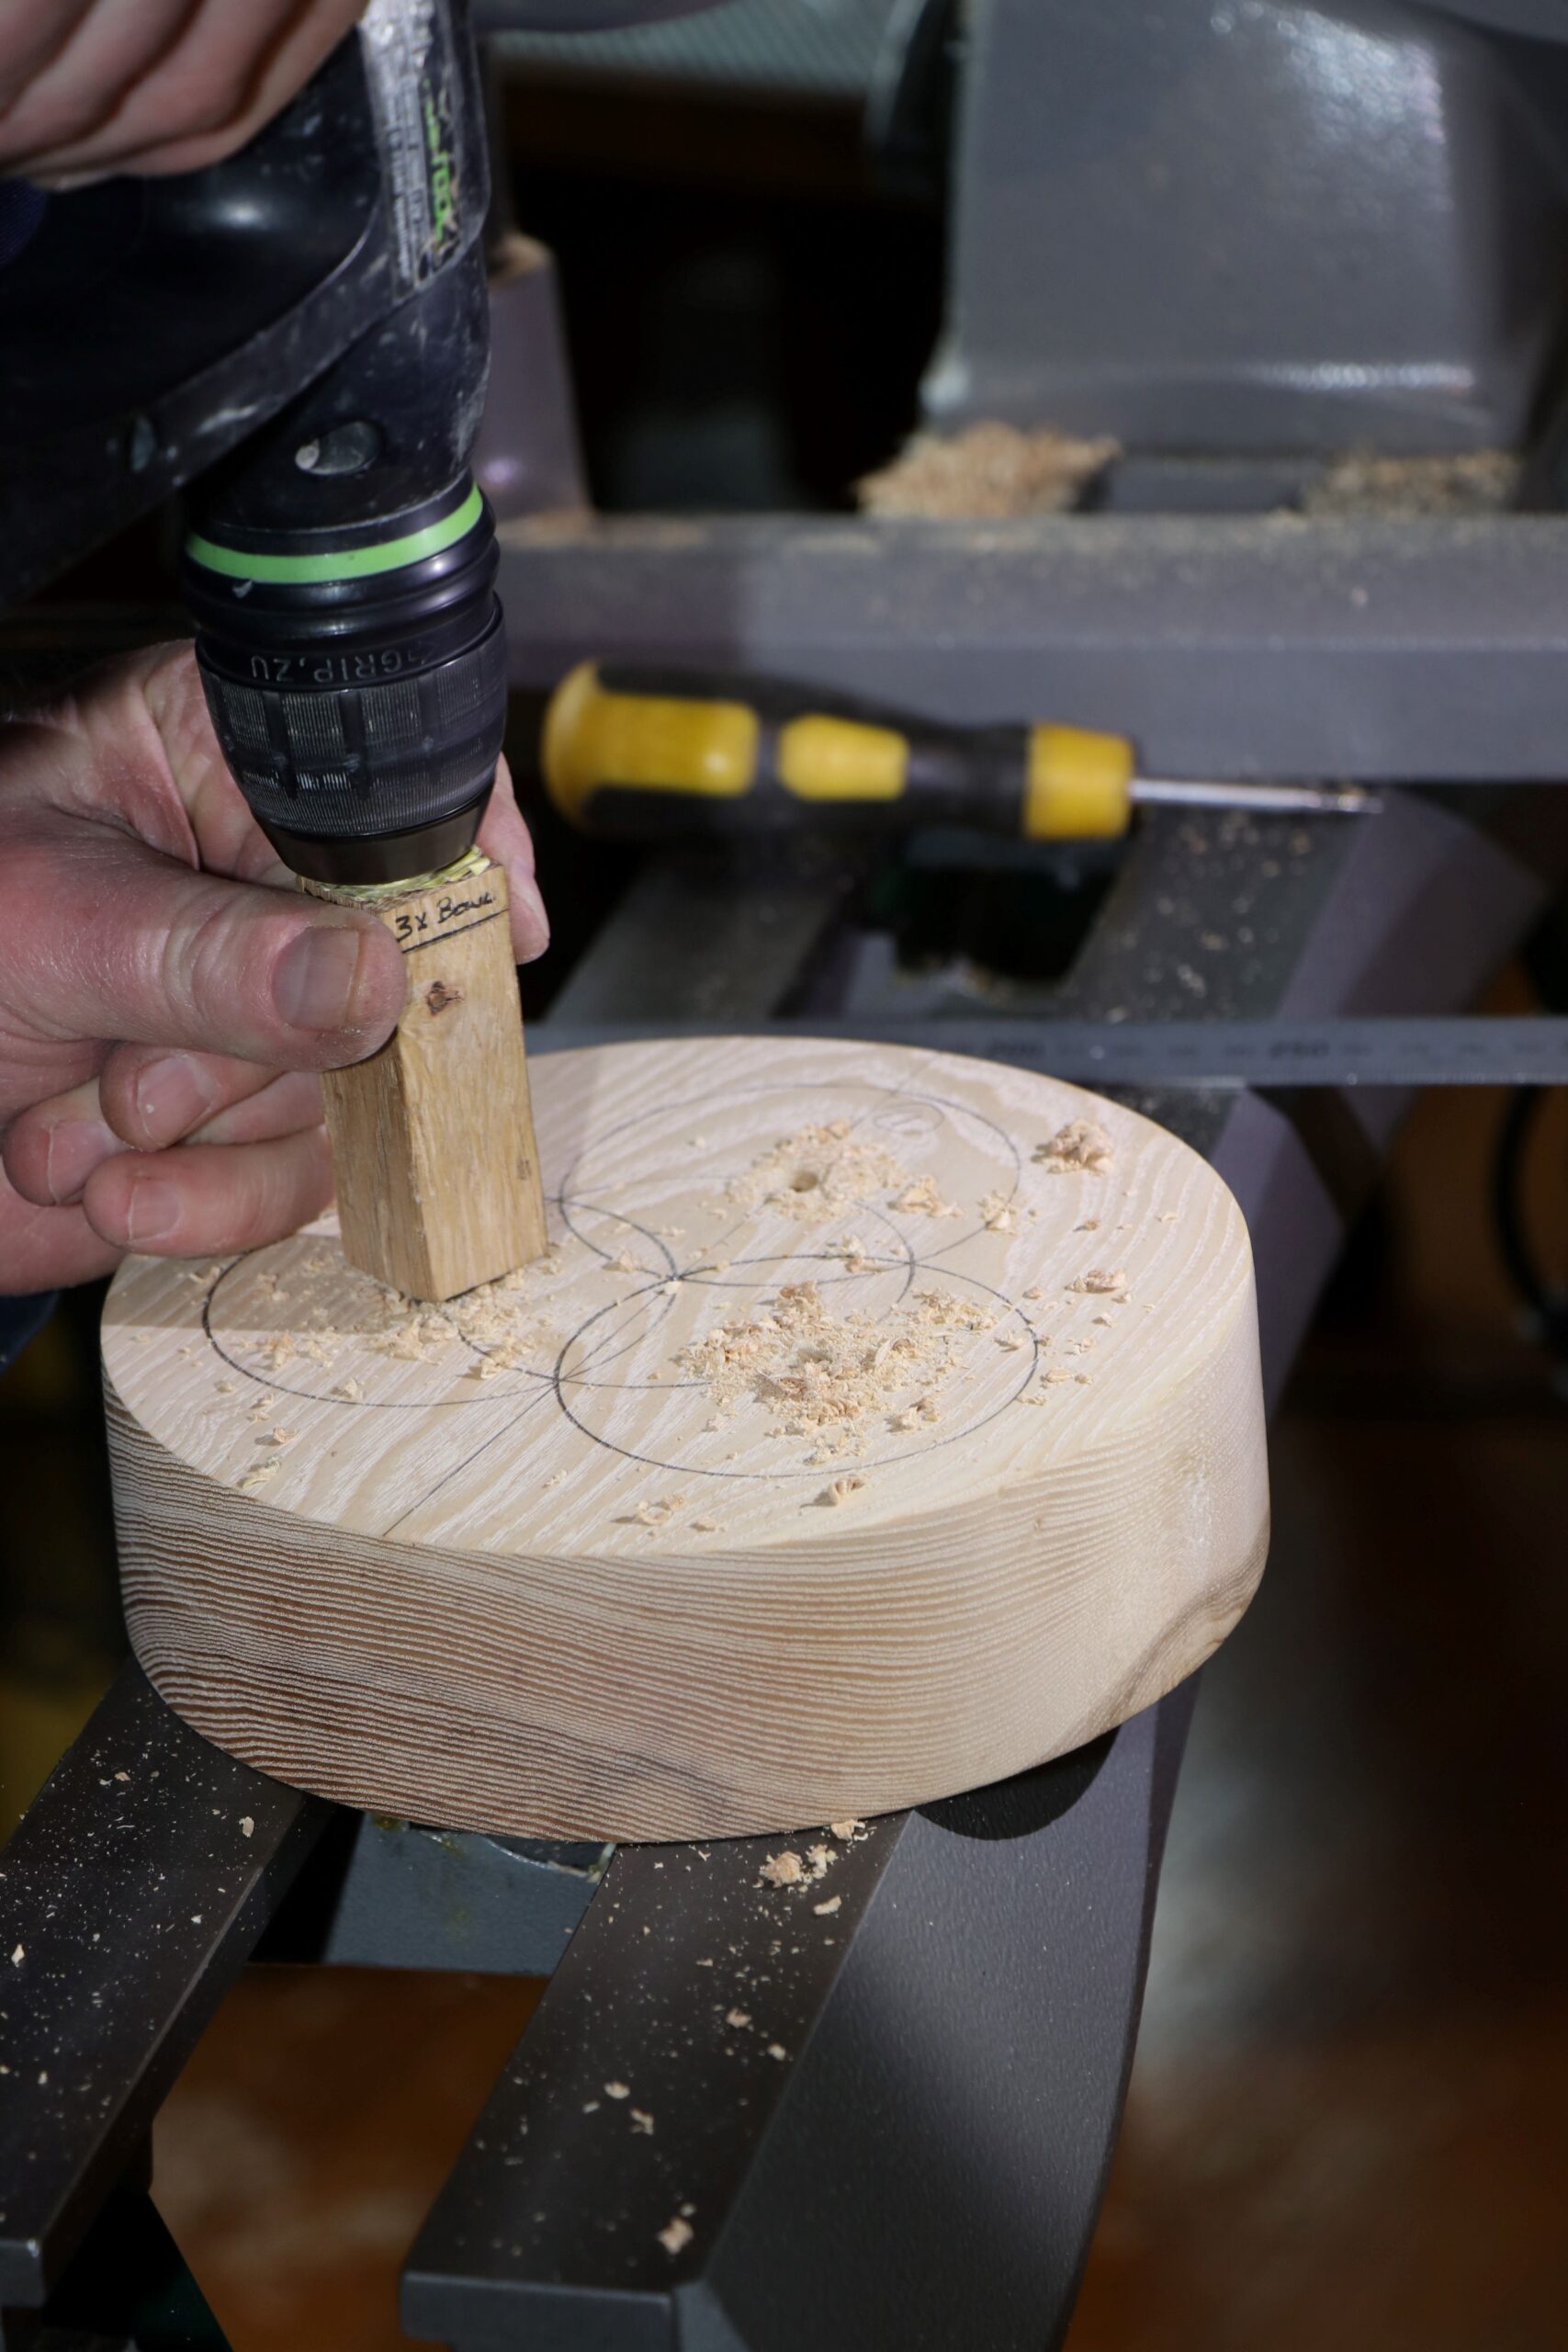
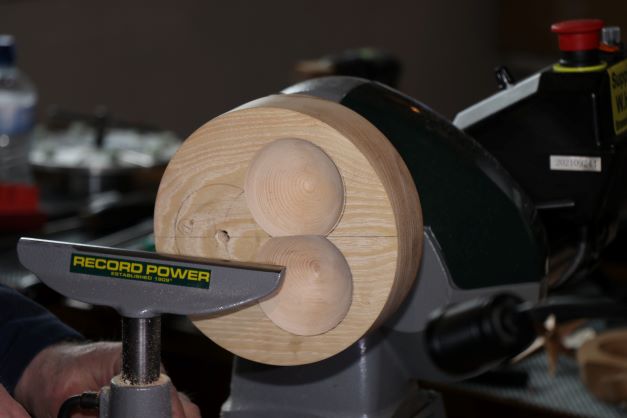
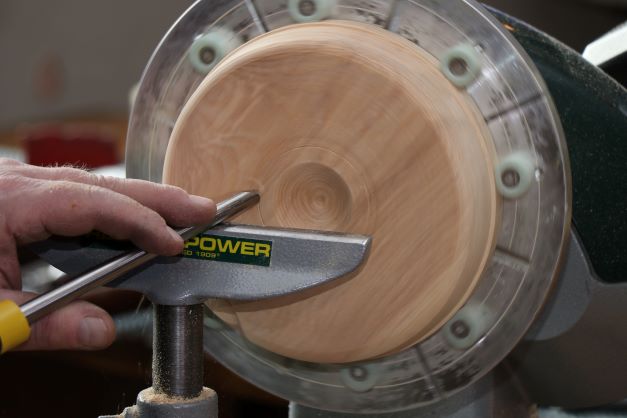
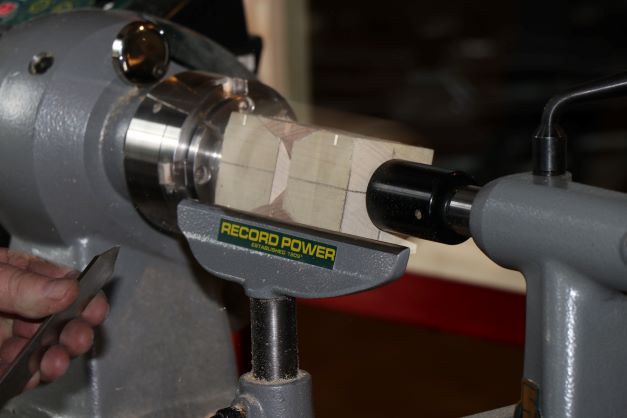
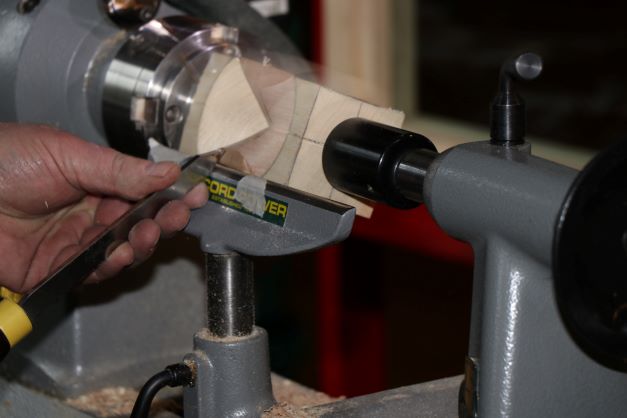
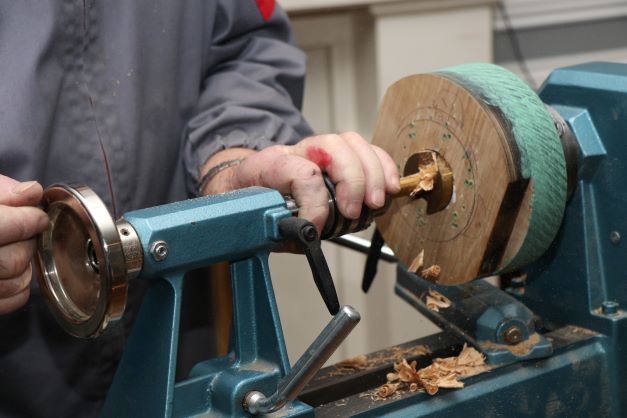
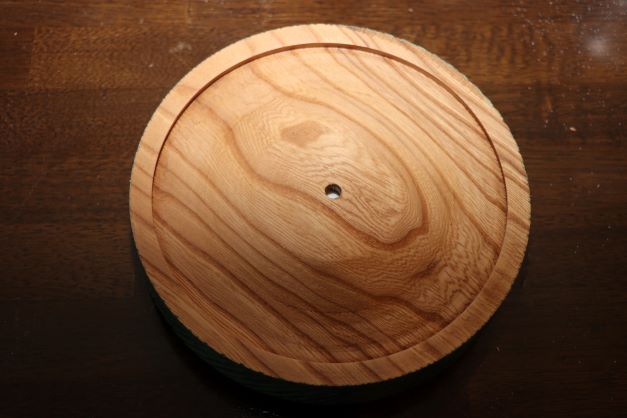
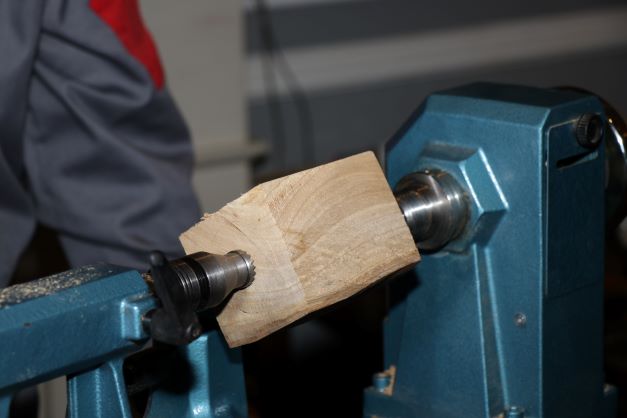
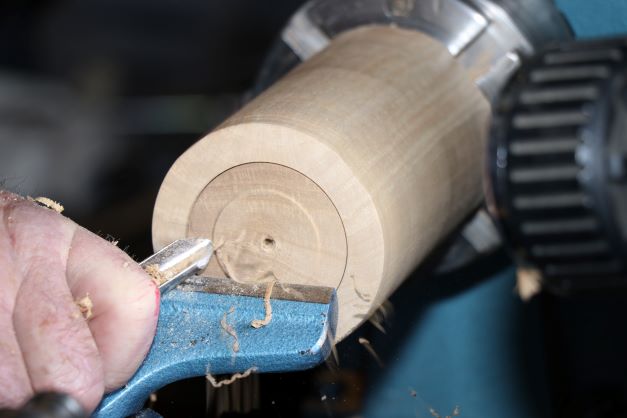
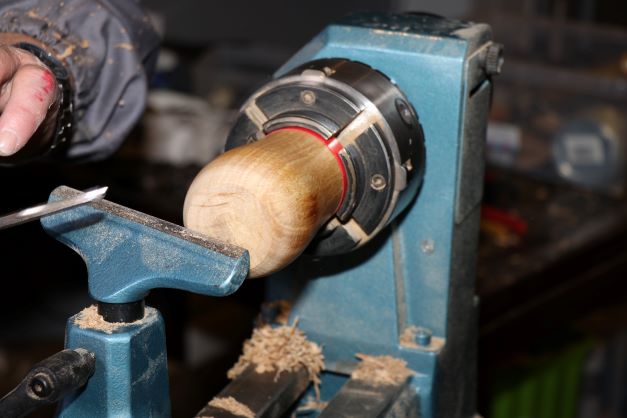
First step, mount a 175 mm by 50 mm blank, which has been drilled to depth at back using a depth jig, on a screw chuck. True up the blank all round, turn a flat surface and ensure it is balanced on the lathe. Joe explained all his cuts in detail as he went along.
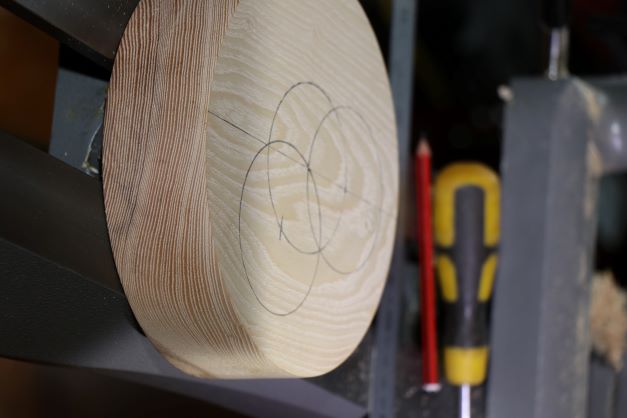
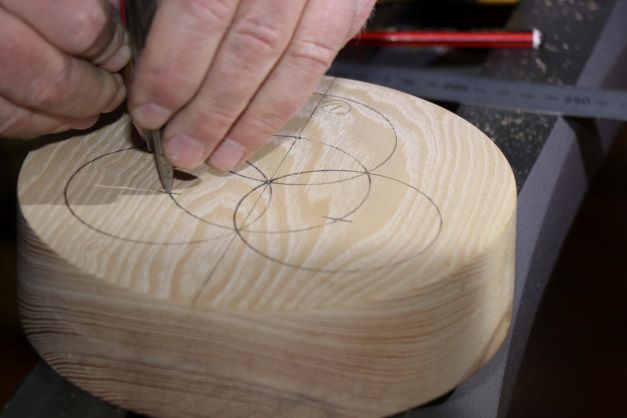
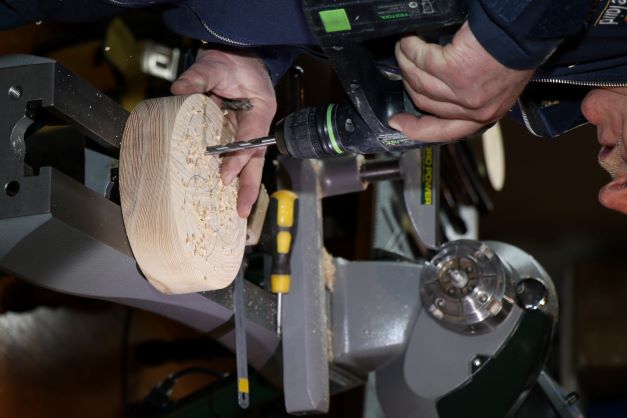
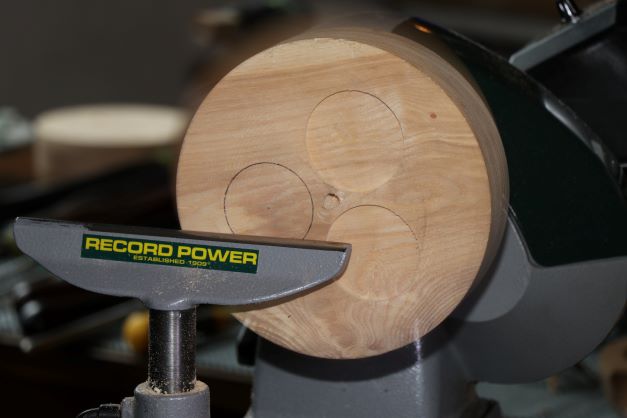
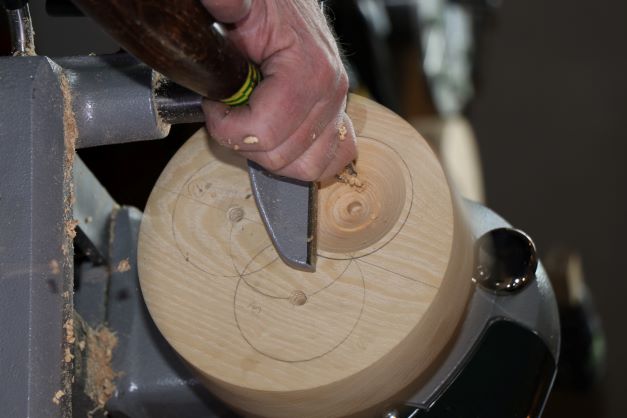
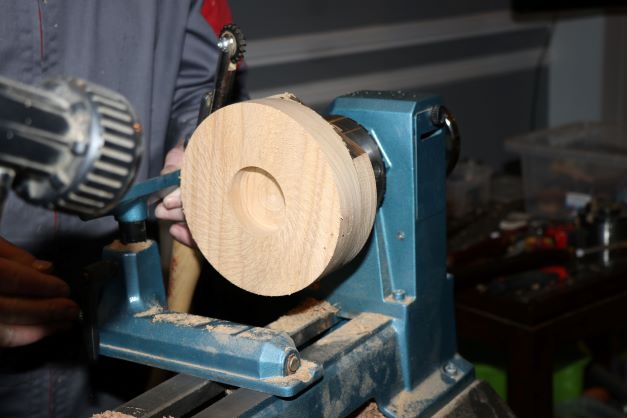
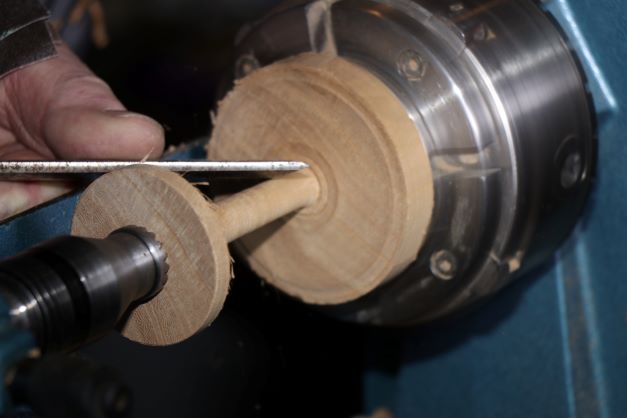
Next you mark out where the three bowls are going to be. Take a line 15mm in from edge of the round blank to its centre point, this is the diameter of first bowl. Using its radius, draw out the circle. Keep this radius on the compass. Draw circle from centre of blank using first bowl radius. Centre points of bowls are on this circle. Use intersection of first bowl on this circle to find second bowl centre point on the circle and draw the bowl. Repeat for third bowl. Drill the centre points for chucking for each bowl using depth jig. Remount on screw chuck using first off centre point and turn recess at back for holding later, 50 mm wide by 5 mm deep. Repeat for other two. Note orientation of wood and turn difficult ones first. Speed; 800 revs depending on lathe, start slow and increase.
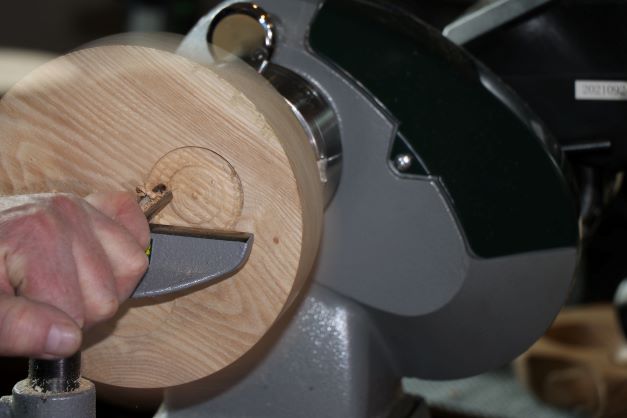
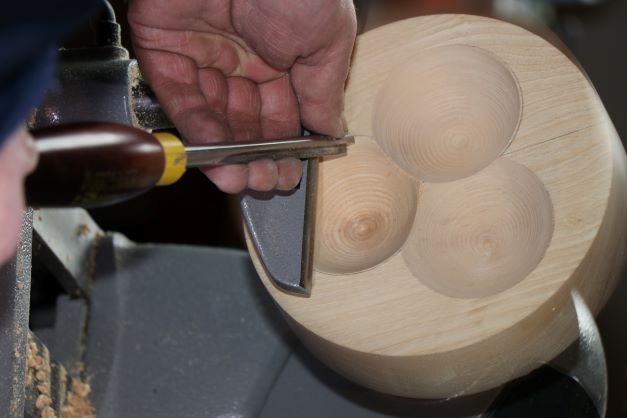
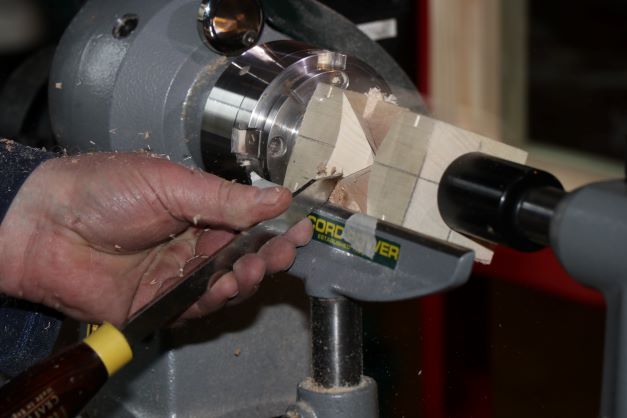
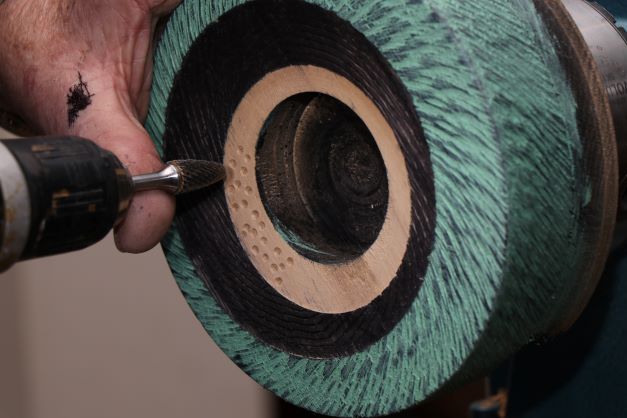
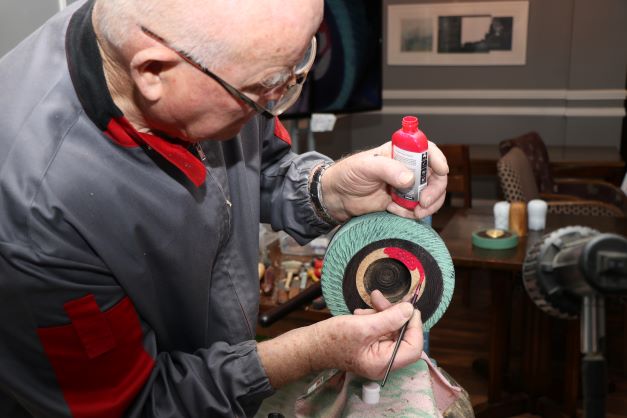
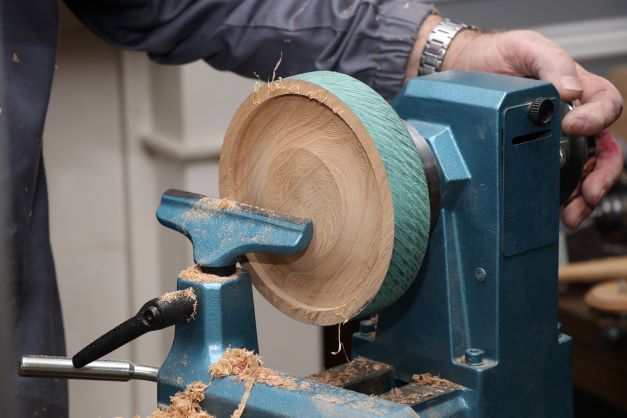
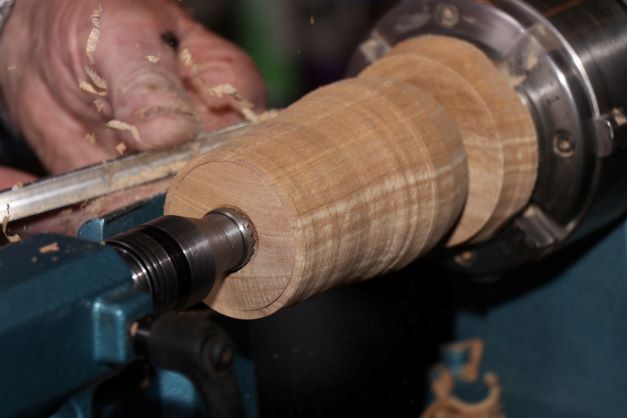
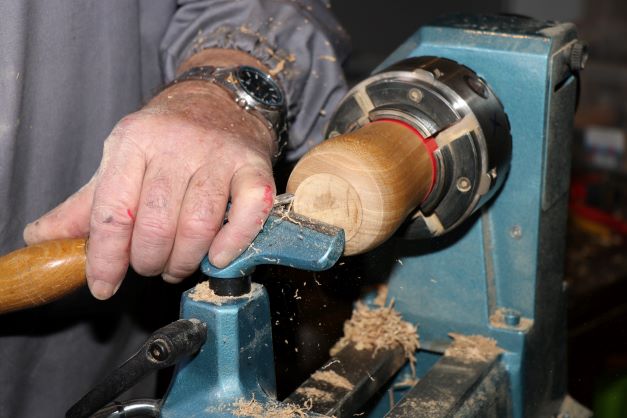
Hollow out each bowl, use light cuts. Sand on right side to avoid flattening edges. You can power sand going in reverse if you wish. Ensure your intersections are spot on. Expect more vibration with 2nd and 3rd bowls.
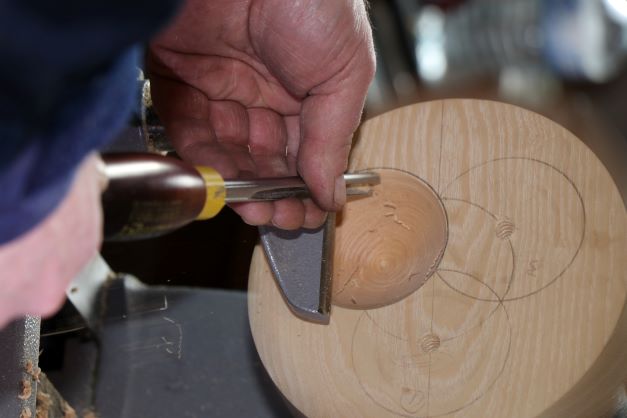
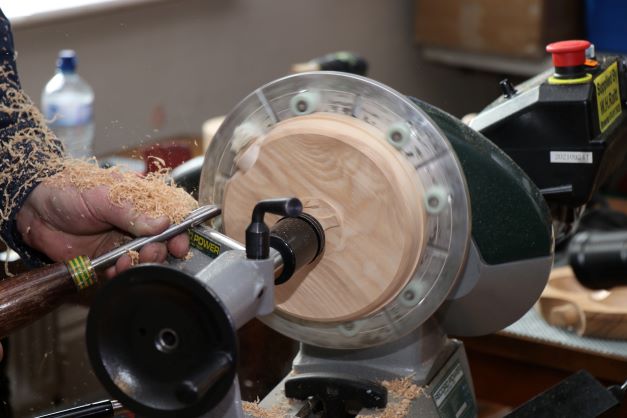
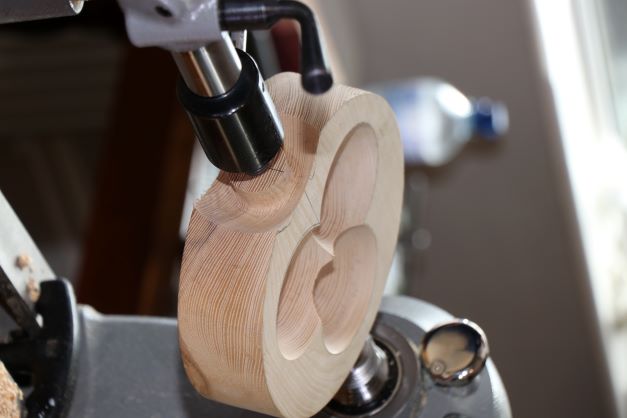
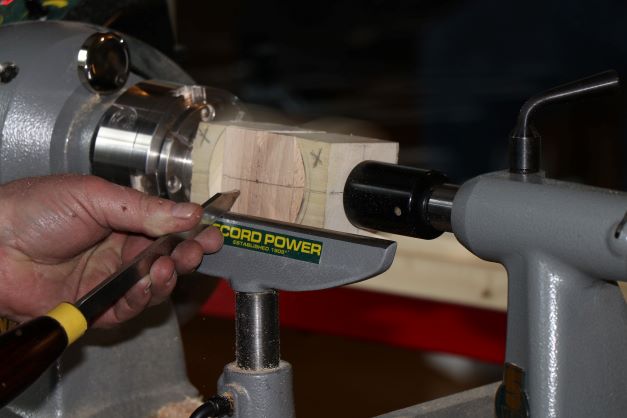
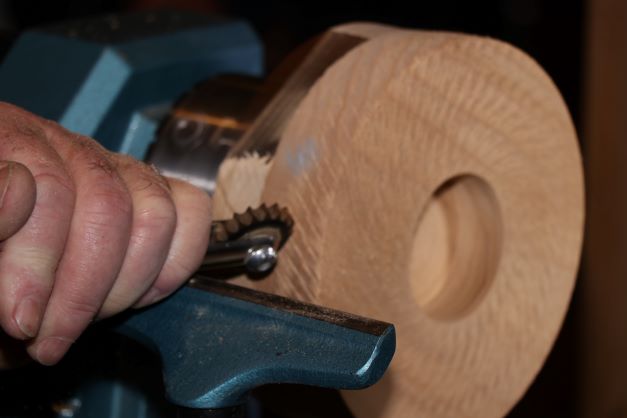
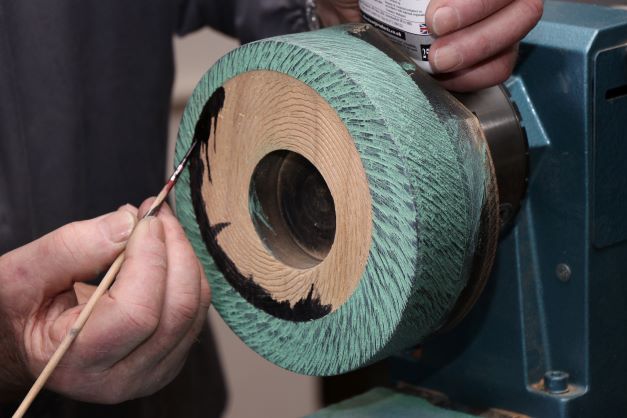
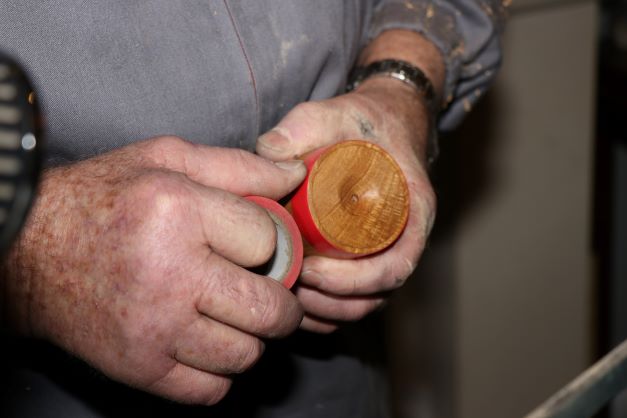
Next the tail. Mark out using original centre line from top to bottom and half the bowl depth, minus 5 mm chucking waste at back which will be removed later. Mount between centres using steb and ring drives. Mark out tail shape. Turn tail with caution. Finish by hand.
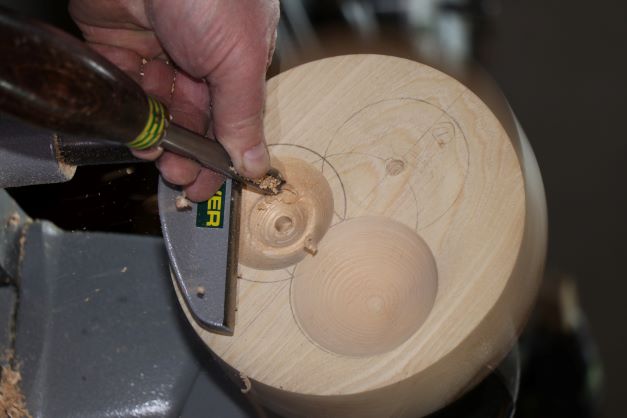
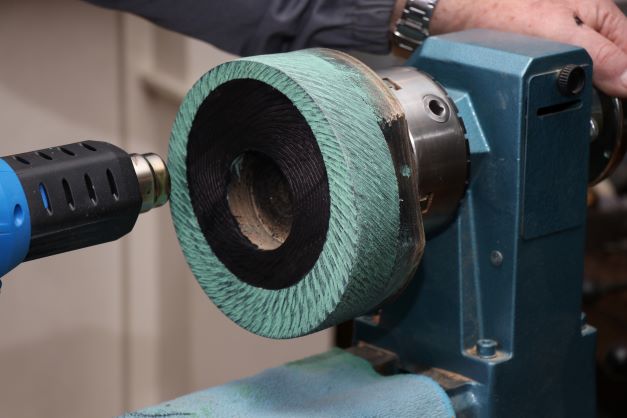
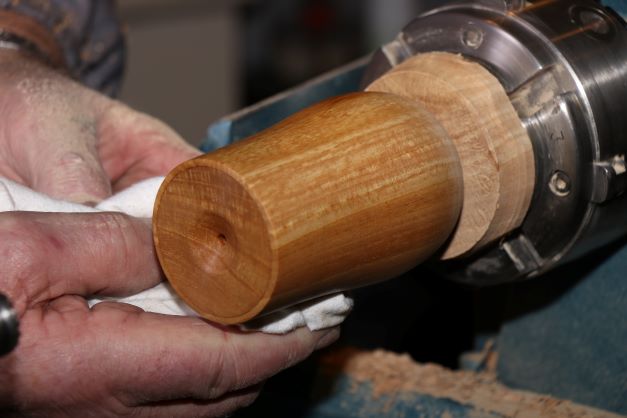
Finally remount in Cole jaws to remove chucking points at back with tailstock for support. Round off corner at back and turn desired shape at back.
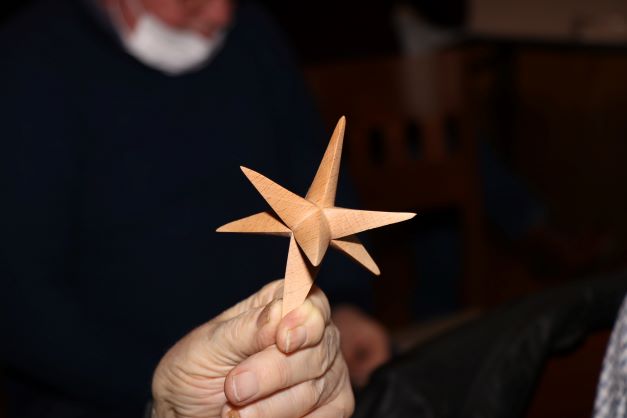
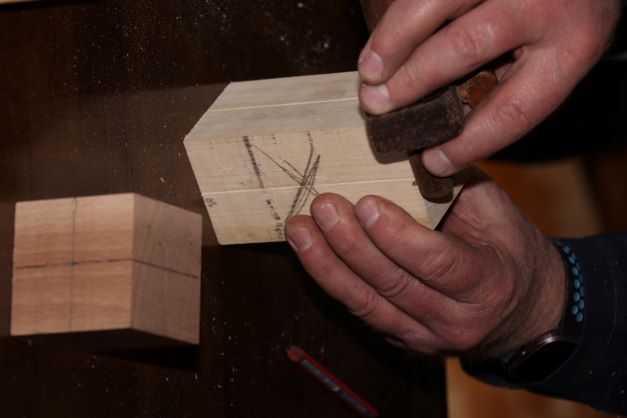
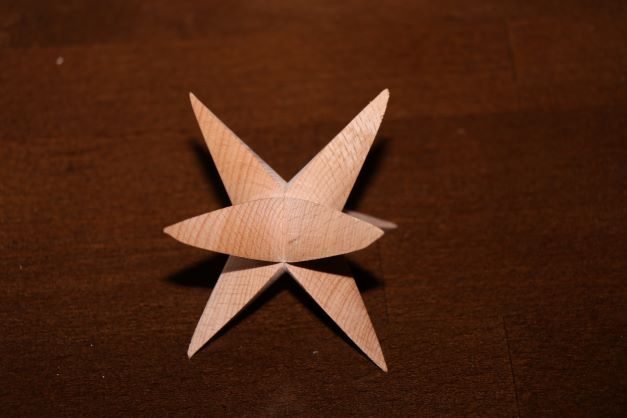
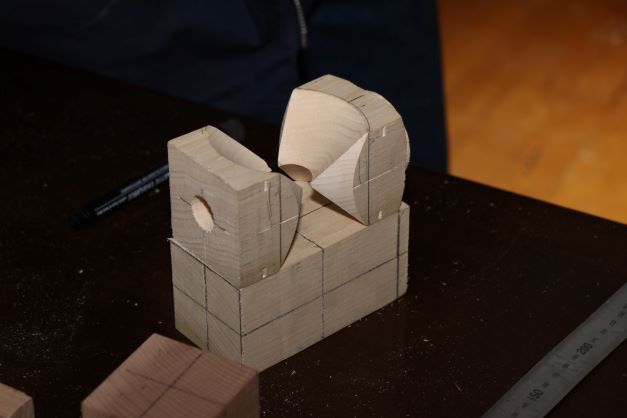
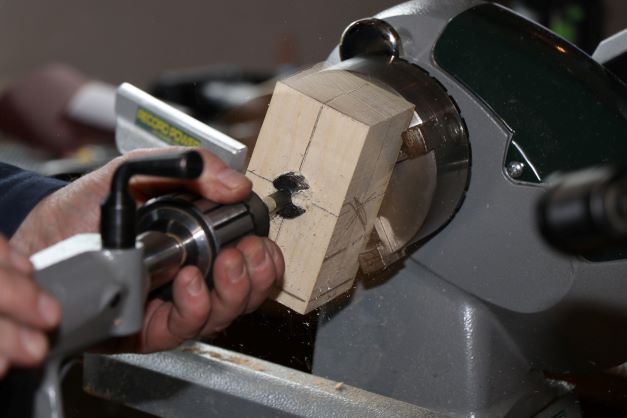
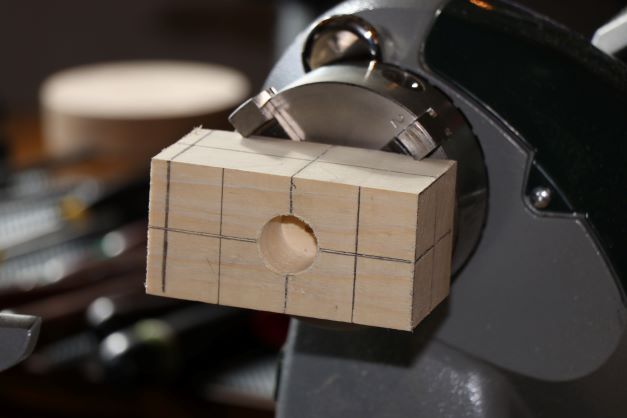
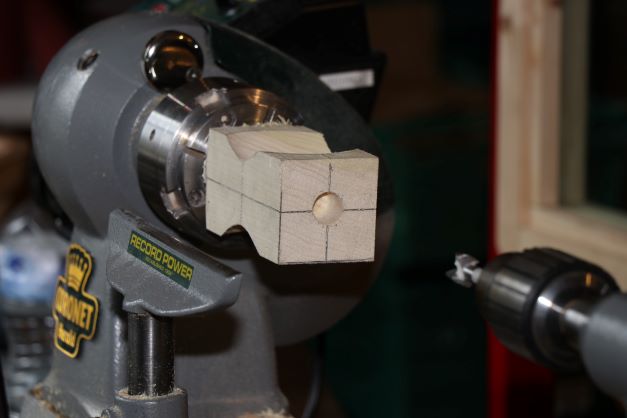
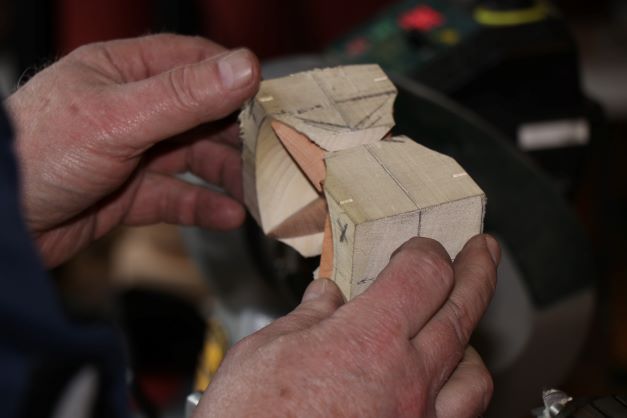
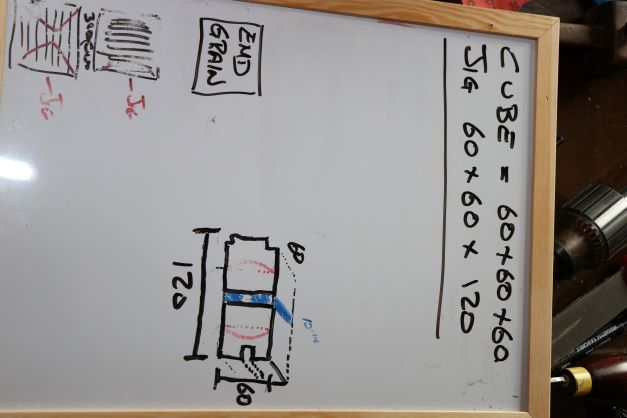
8 Pointed Star
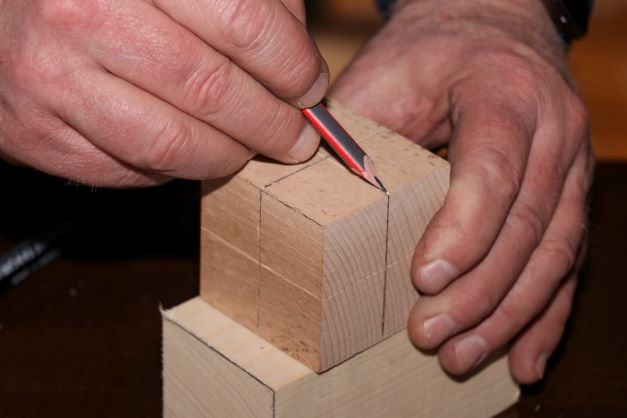
This project involves making a jig to hold the star first.
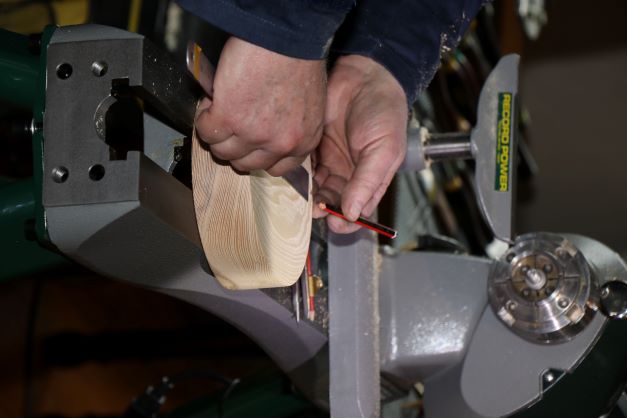
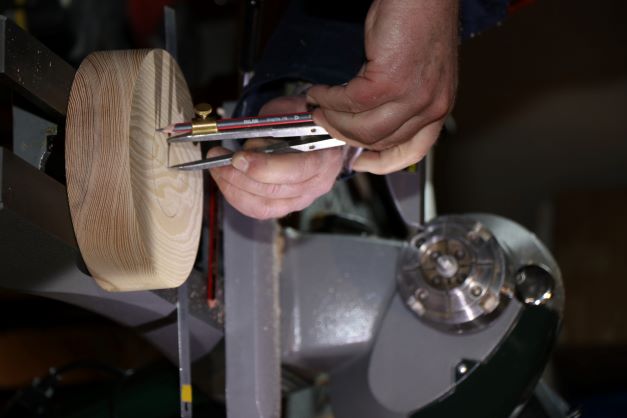
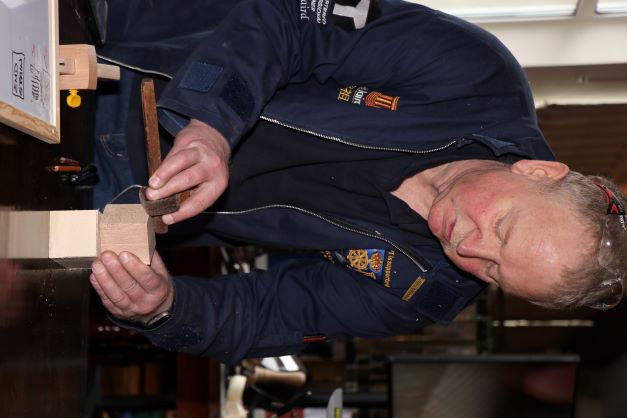
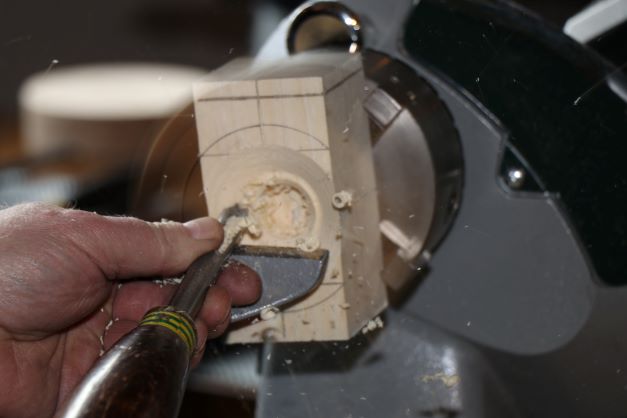
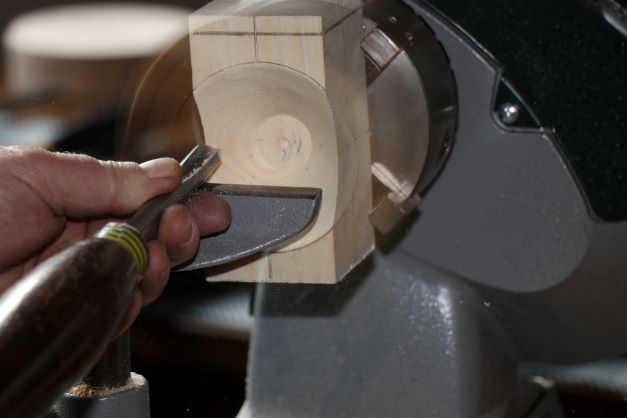
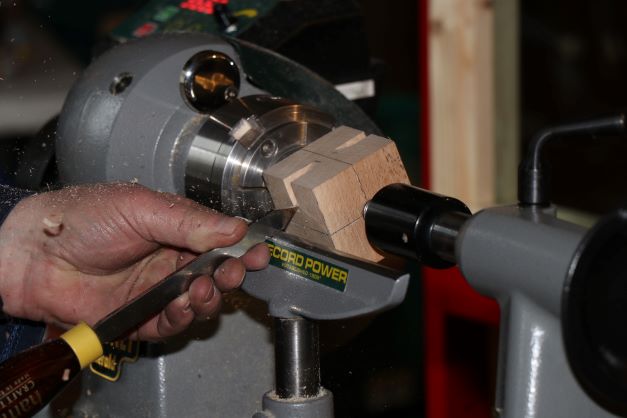
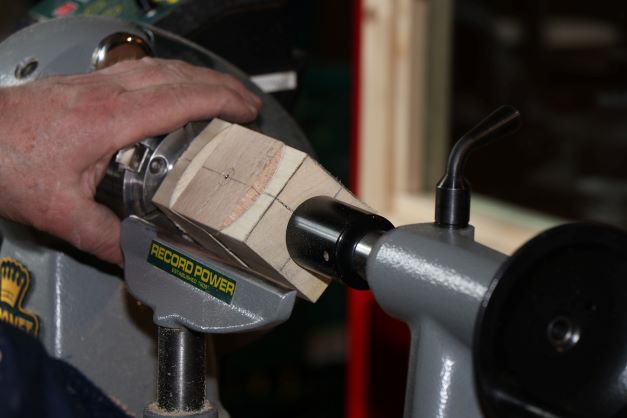
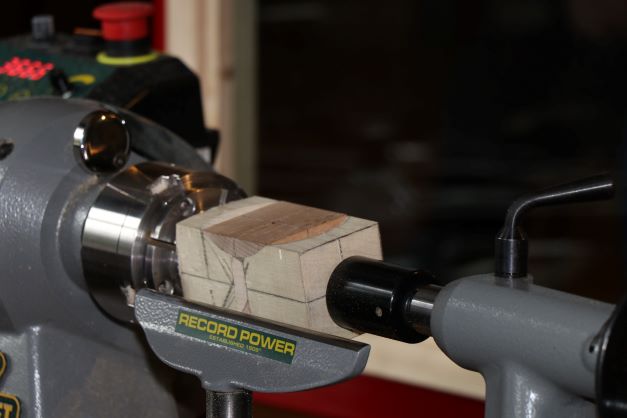
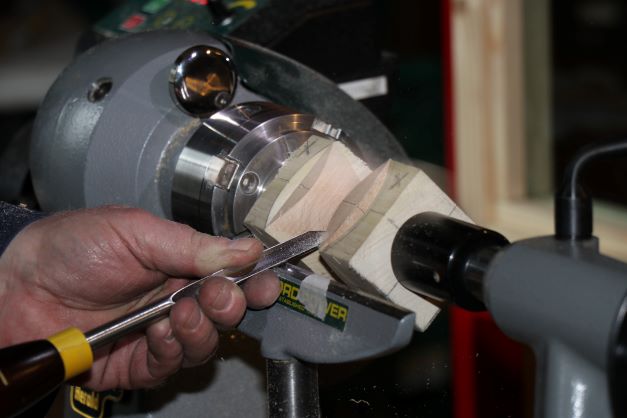
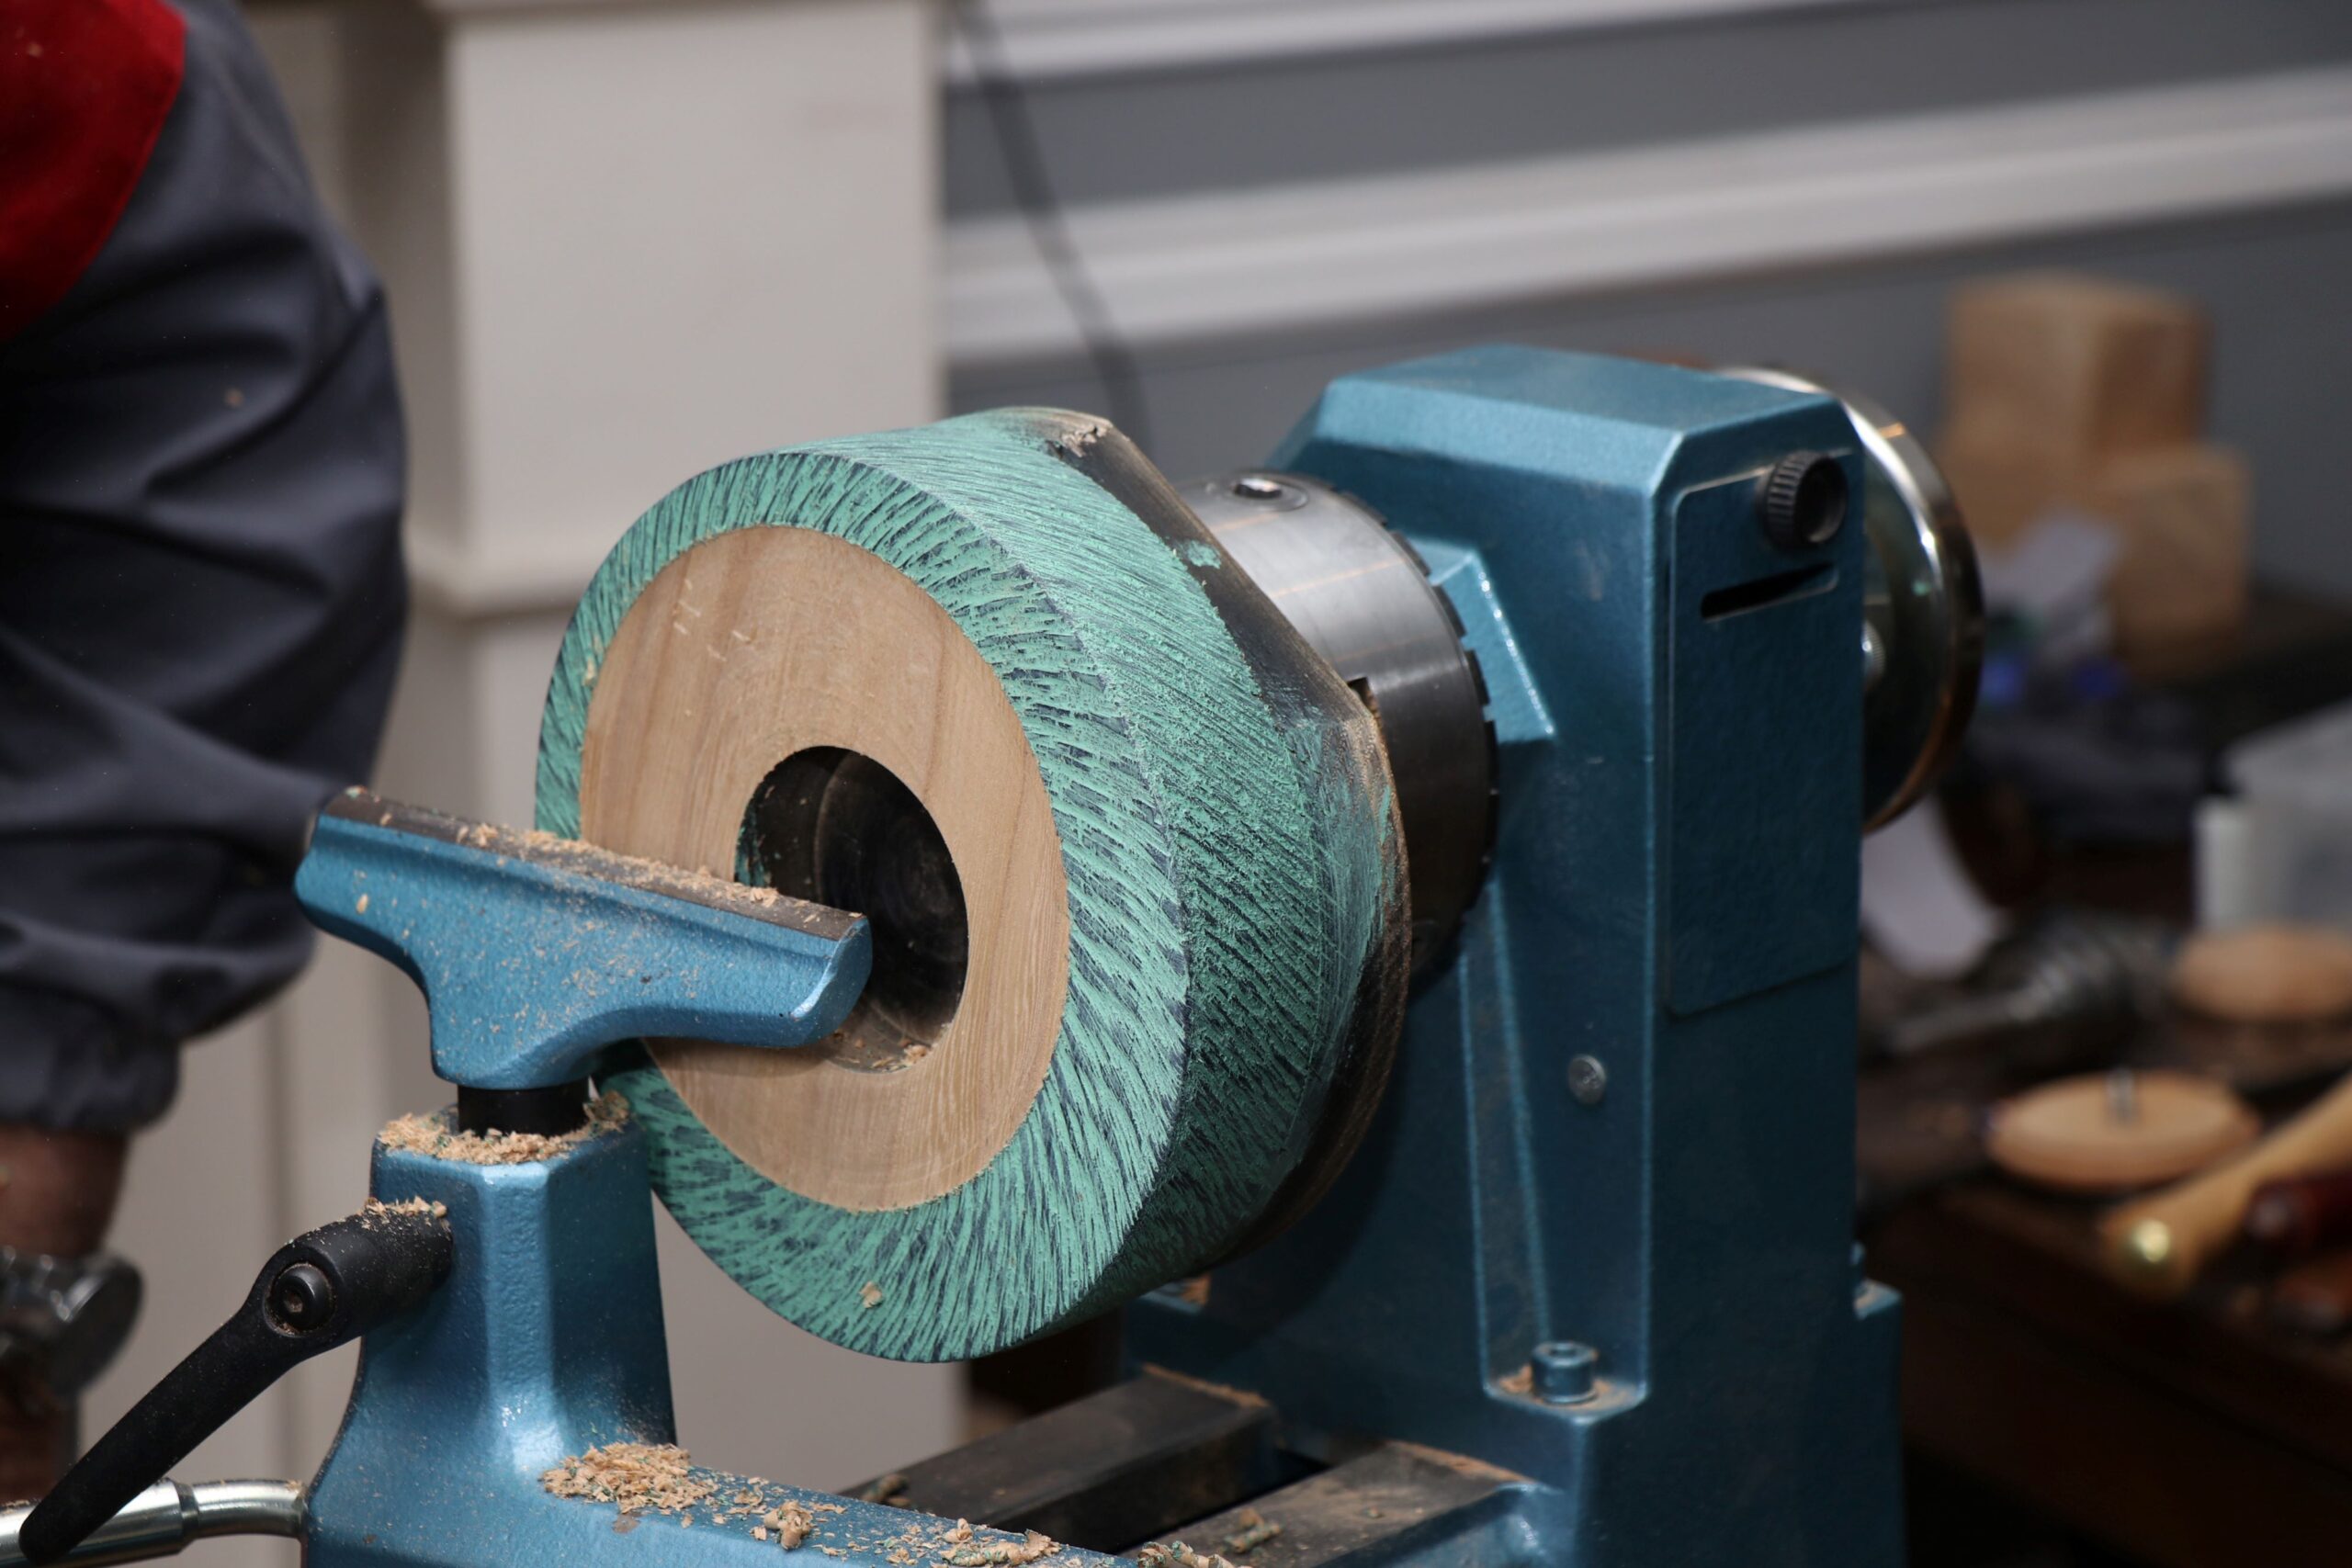
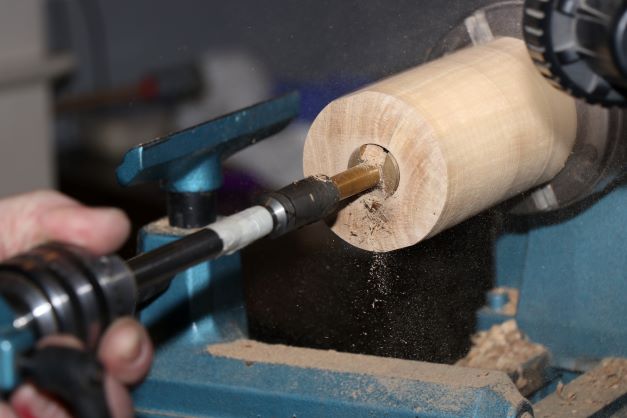
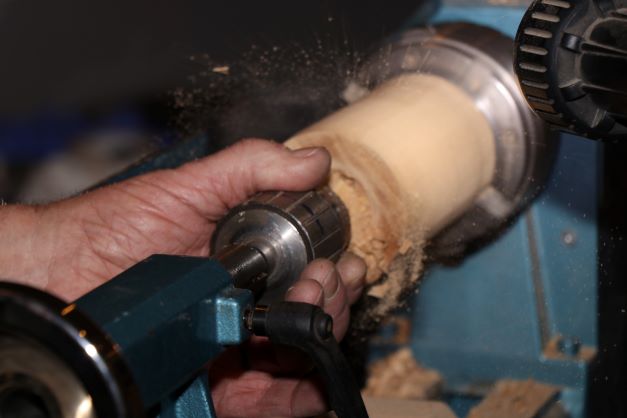
Mark up both the jig and actual cube blanks, see photo. Mount jig blank on lathe. Drill a 25mm wide hole half way through (30 mm). Hole determines size of star. Mark width of shape using actual blank cube. Turn a concave shape to depth of hole. Reverse and repeat process the other side. Avoid breaking through completely. Mount jig between centres. See photos. Turn spigot at one end and remount. Drill hole to size of live centre steb the other end to depth of steb. Bring up tailstock into hole. Cut jig in half, removing 10 mm at centre from both sides. Jig is now ready.
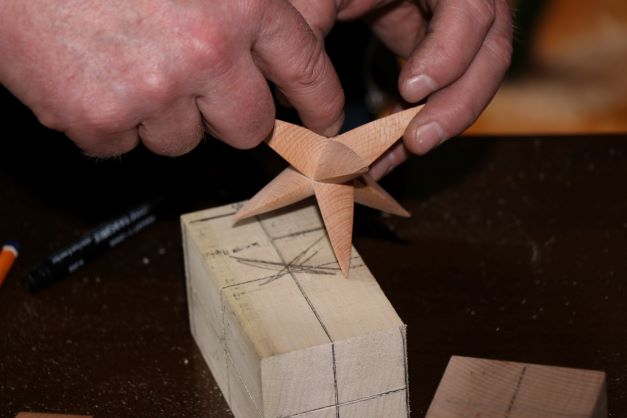
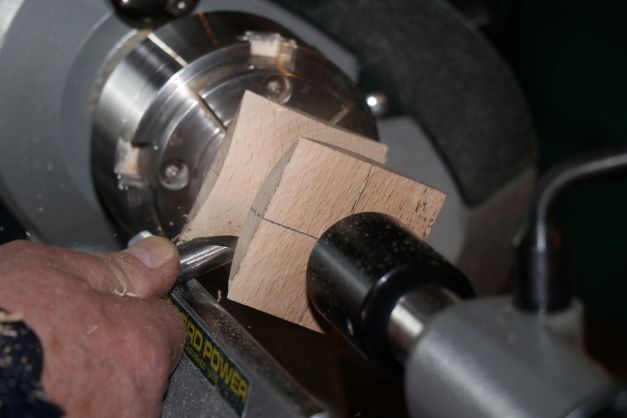
Next the star. Mount marked out cube blank between centres. Turn end grain first. Side grain, long grain explained. Mark a cut to depth 27mm diameter using parting tool, knife. Turn V groove with spindle gouge, cautiously working side by side to depth of this cut. Use detail gouge for bottom. Sides should be flat, not curved. Sand.
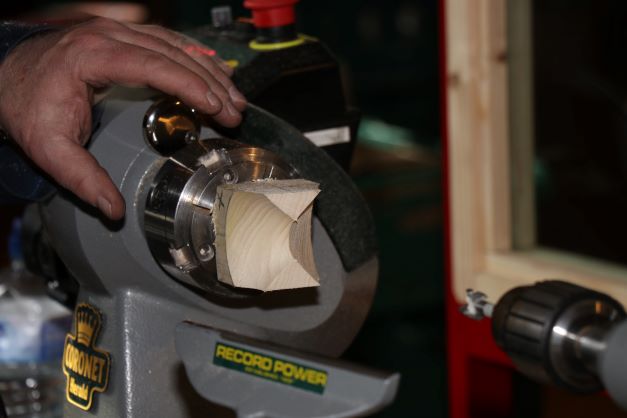
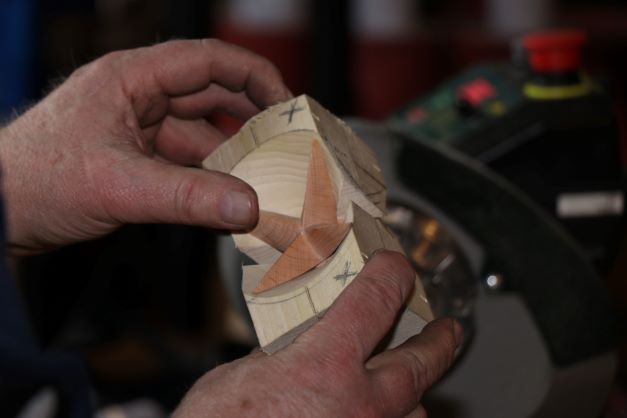
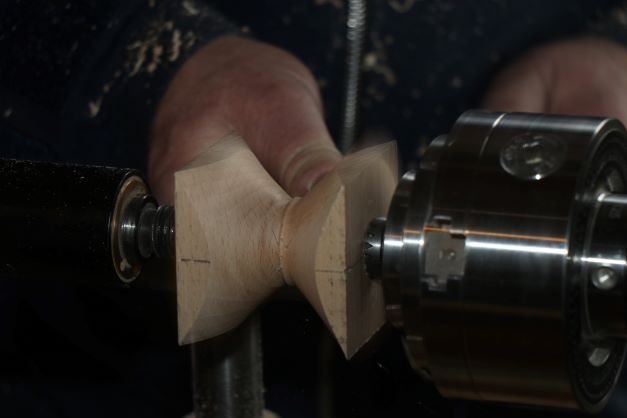
Remove and remount in jig. See photo. Long grain facing away. Repeat process outlined above. Also use shield for protection. Tape edge of wood this time round as a guide. Proceed to turn cautiously as blank is only held in the jig. Remount the star in jig a second time, rotating to the final position. Repeat the process above again, proceeding very cautiously. The star will now appear. Lovely project.
Well done Joe for two fantastic demos that had everyone hanging on your every move. Thank you.
CraobhEo Seminar 2022
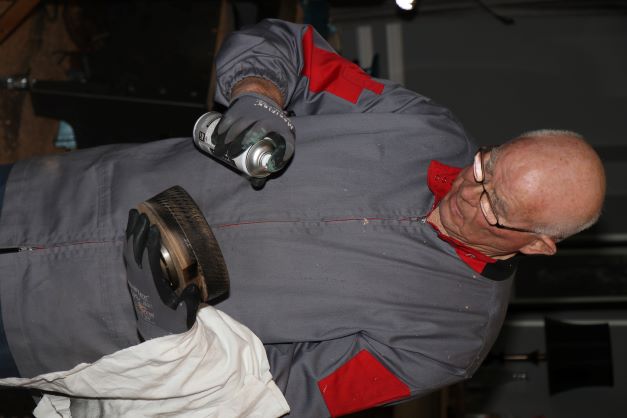
Joe Laird Shamrock Bowl Demo
CraobhEo Seminar 2022
Joe Laird Shamrock Bowl Demo
CraobhEo Seminar 2022
Joe Laird Shamrock Bowl Demo
CraobhEo Seminar 2022
Joe Laird Shamrock Bowl Demo
CraobhEo Seminar 2022
Joe Laird Shamrock Bowl Demo

CraobhEo Seminar 2022
Joe Laird Shamrock Bowl Demo
CraobhEo Seminar 2022
Joe Laird Shamrock Bowl Demo
CraobhEo Seminar 2022
Joe Laird Shamrock Bowl Demo

CraobhEo Seminar 2022
Joe Laird Shamrock Bowl Demo
CraobhEo Seminar 2022
Joe Laird Shamrock Bowl Demo
CraobhEo Seminar 2022
Joe Laird Shamrock Bowl Demo
CraobhEo Seminar 2022
Joe Laird Shamrock Bowl Demo
CraobhEo Seminar 2022
Joe Laird Shamrock Bowl Demo
CraobhEo Seminar 2022
Joe Laird Shamrock Bowl Demo
CraobhEo Seminar 2022
Joe Laird Shamrock Bowl Demo
CraobhEo Seminar 2022
Joe Laird Shamrock Bowl Demo
CraobhEo Seminar 2022
Joe Laird Shamrock Bowl Demo
CraobhEo Seminar 2022
Joe Laird Shamrock Bowl Demo
CraobhEo Seminar 2022
Joe Laird Shamrock Bowl Demo
CraobhEo Seminar 2022
Joe Laird Shamrock Bowl Demo
CraobhEo Seminar 2022
Joe Laird Shamrock Bowl Demo
CraobhEo Seminar 2022
Joe Laird Shamrock Bowl Demo
CraobhEo Seminar 2022
Joe Laird Shamrock Bowl Demo
CraobhEo Seminar 2022
Joe Laird Shamrock Bowl Demo

CraobhEo Seminar 2022
Joe Laird Shamrock Bowl Demo
CraobhEo Seminar 2022
Joe Laird Shamrock Bowl Demo
CraobhEo Seminar 2022
Joe Laird Shamrock Bowl Demo
CraobhEo Seminar 2022
Joe Laird Shamrock Bowl Demo

CraobhEo Seminar 2022
Joe Laird Shamrock Bowl Demo
CraobhEo Seminar 2022
Joe Laird Shamrock Bowl Demo

CraobhEo Seminar 2022
Joe Laird Shamrock Bowl Demo
CraobhEo Seminar 2022
Joe Laird Shamrock Bowl Demo
CraobhEo Seminar 2022
Joe Laird Shamrock Bowl Demo

CraobhEo Seminar 2022
Joe Laird Shamrock Bowl Demo
CraobhEo Seminar 2022
Joe Laird Shamrock Bowl Demo
CraobhEo Seminar 2022
Joe Laird Shamrock Bowl Demo
CraobhEo Seminar 2022
Joe Laird Shamrock Bowl Demo
CraobhEo Seminar 2022
Joe Laird Shamrock Bowl
CraobhEo Seminar 2022

CraobhEo Seminar 2022
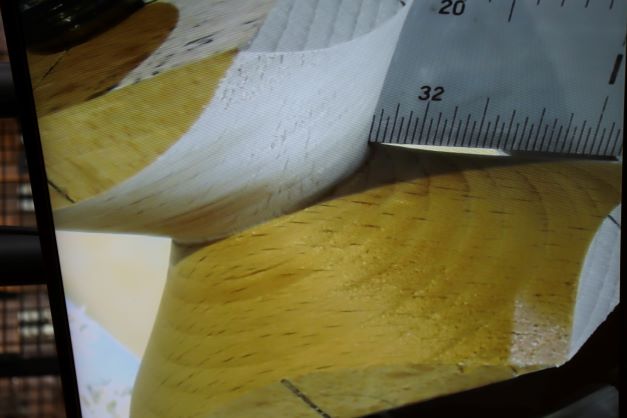
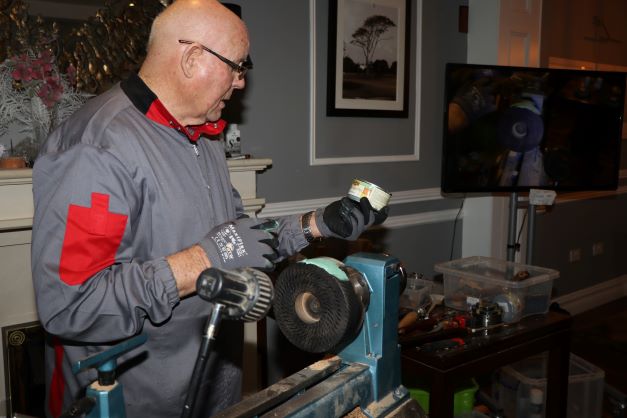
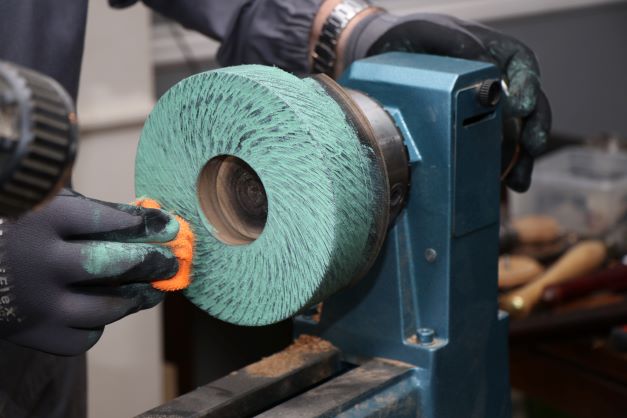
Joe Laird 8 Pointed Star Demo

CraobhEo Seminar 2022
Joe Laird 8 Pointed Star Demo
CraobhEo Seminar 2022
Joe Laird 8 Pointed Star Demo
CraobhEo Seminar 2022
Joe Laird 8 Pointed Star Demo
CraobhEo Seminar 2022
Joe Laird 8 Pointed Star Demo
CraobhEo Seminar 2022
Joe Laird 8 Pointed Star Demo
CraobhEo Seminar 2022
Joe Laird 8 Pointed Star Demo
CraobhEo Seminar 2022
Joe Laird 8 Pointed Star Demo
CraobhEo Seminar 2022
Joe Laird 8 Pointed Star Demo

CraobhEo Seminar 2022
Joe Laird 8 Pointed Star Demo
CraobhEo Seminar 2022
Joe Laird 8 Pointed Star Demo
CraobhEo Seminar 2022
Joe Laird 8 Pointed Star Demo
CraobhEo Seminar 2022
Joe Laird 8 Pointed Star Demo
CraobhEo Seminar 2022
Joe Laird 8 Pointed Star Demo
CraobhEo Seminar 2022
Joe Laird 8 Pointed Star Demo
CraobhEo Seminar 2022
Joe Laird 8 Pointed Star Demo
CraobhEo Seminar 2022
Joe Laird 8 Pointed Star Demo
CraobhEo Seminar 2022
Joe Laird 8 Pointed Star Demo
CraobhEo Seminar 2022
Joe Laird 8 Pointed Star Demo

CraobhEo Seminar 2022
Joe Laird 8 Pointed Star Demo
CraobhEo Seminar 2022
Joe Laird 8 Pointed Star Demo

CraobhEo Seminar 2022
Joe Laird 8 Pointed Star Demo

CraobhEo Seminar 2022
Joe Laird 8 Pointed Star Demo

CraobhEo Seminar 2022
Joe Laird 8 Pointed Star Demo
CraobhEo Seminar 2022
Joe Laird 8 Pointed Star Demo
CraobhEo Seminar 2022
Joe Laird 8 Pointed Star Demo
CraobhEo Seminar 2022
Joe Laird 8 Pointed Star Demo
CraobhEo Seminar 2022
Joe Laird 8 Pointed Star Demo
CraobhEo Seminar 2022
Joe Laird 8 Pointed Star Demo
CraobhEo Seminar 2022
Joe Laird 8 Pointed Star Demo
CraobhEo Seminar 2022
Joe Laird 8 Pointed Star Demo
CraobhEo Seminar 2022
Joe Laird 8 Pointed Star Demo
CraobhEo Seminar 2022
Joe Laird 8 Pointed Star Demo
CraobhEo Seminar 2022
Joe Laird 8 Pointed Star Demo

CraobhEo Seminar 2022
Joe Laird 8 Pointed Star Demo

CraobhEo Seminar 2022
Joe Laird 8 Pointed Star Demo
CraobhEo Seminar 2022
Joe Laird 8 Pointed Star Demo
CraobhEo Seminar 2022
Joe Laird 8 Pointed Star Demo

CraobhEo Seminar 2022
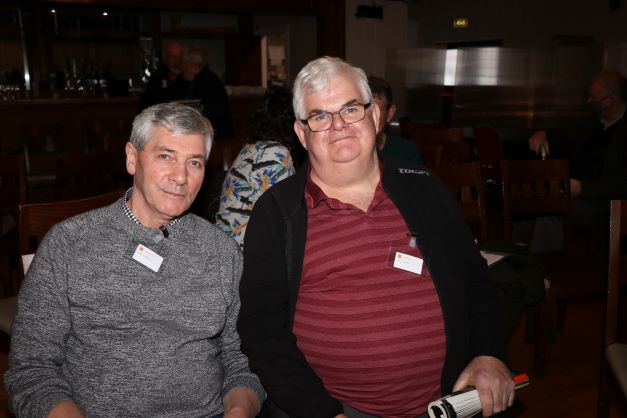
Joe Laird with Willie Creighton (L) and Pat O’Malley

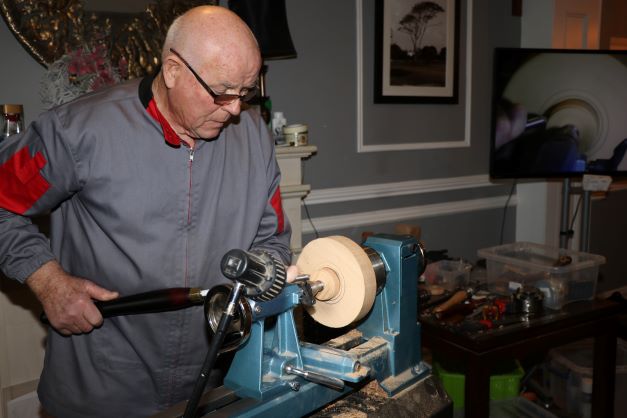
John Flynn Demonstrations
John arrived with some wonderful examples of his own work so we anticipated some great demos and we were not disappointed.
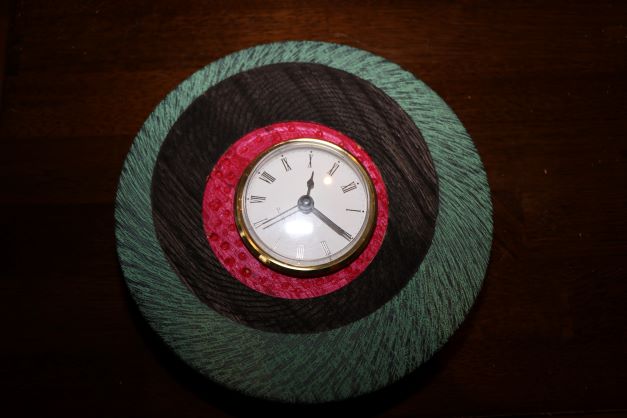
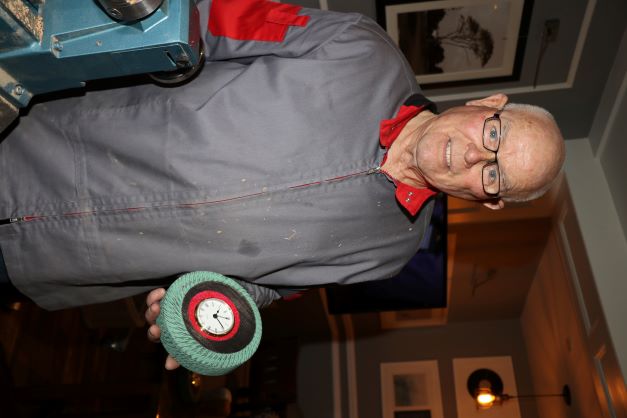
Off Centre Wall Clock
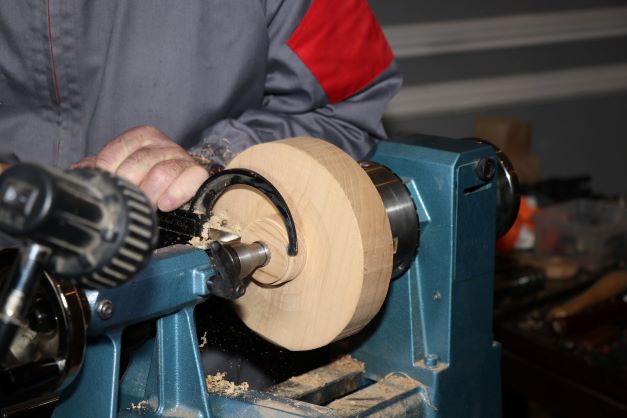
Mount an elm clock blank (for rounding, size of your choice) between centres, round the blank and turn long spigot. Remount in a jam chuck using the spigot with glue at back for support. True up face and side. Next, make a recess for clock to fit into later. Use Sorby texturing tool to texture the face and side. Brush off and sand. Take it off the lathe and spray with black ebonising lacquer and remount. Dry off lacquer with a heat gun. Apply Liberon verdigree special effects wax all over and then partially rub off with a cloth to reveal black underneath.
Next mark out off two centre positions at the back. Move faceplate to first off centre position, approx half inch swing (your choice) and remount. Mark out circle on face from this off centre position and remove texturing from centre of blank out to this circle. Texture this area with a different texturing tool and brush off. Apply Chestnut spirit stain working from top of ring down all round initially and fill in. See photos. Dry off as before. Move face plate to your second offset position. Remount, draw a new circle representing second offset position and repeat the above process within the second area done using a burr to texture and applying a different colour (see photos). Remove faceplate and remount using clock recess to hold. Remove jam chuck by using 50 mm Forster bit to remove glue lines. Remove spigot at back, true up back of clock. Make a groove for hanging 12 mm in from edge, undercut slightly and remove waste in to centre. Turn design on back if you wish. Sand. Apply beeswax and olive oil. Beeswax formula,1 litre olive oil to 20g beeswax. Insert clock and you have a beautiful wall hanging.
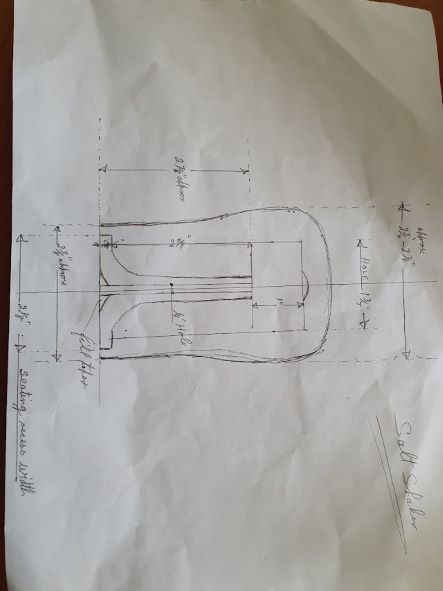
Salt and Pepper Shaker
This project requires two blanks, for insert and body.
Mount blank for insert between centres, 75 mm square by 150 mm long, round and turn spigot at each end. Remount in chuck, bore centre hole with drill bit. This will be the salt dispenser. Reduce down to required diameter (54 mm) for inserting in body. Leaving an outside ring, say 10 mm, for inserting into the body later, remove waste down to narrow shaft around the salt dispenser. Part off at narrow end, see photo. Insert done.
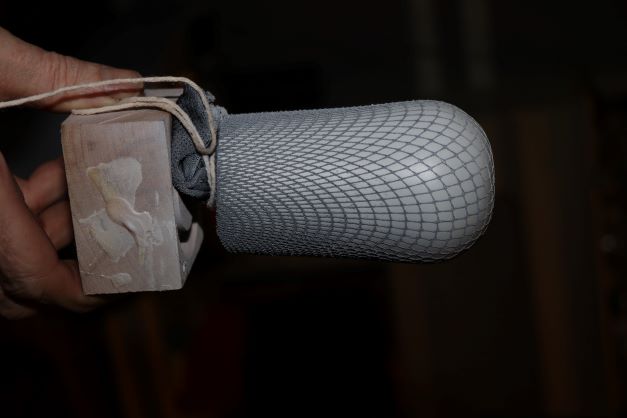
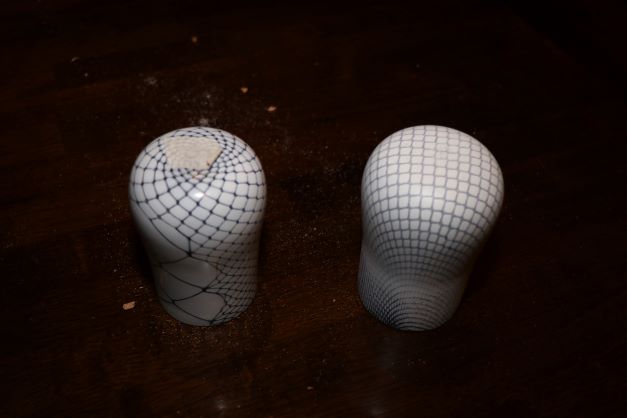
Mount blank for body same size as before, round the blank, turn spigot and remount. Bore pilot hole for hollowing with Forster bit to depth of 3 7/8″ (98 mm). Now repeat the drilling with 1 3/4″ (45 mm) wide bit. Drill seating for insert with 2 1/8″ (54 mm) bit to depth of ring, say 10 mm. Clean up bottom. Sand inside. Glue the insert into the body. True up the bottom. Turn a well for the salt. Turn the outside shape to your own design. Sand to good finish. Apply ebonising lacquer and dry. Cover with mesh and spray with contrasting colour. Remove mesh to reveal beautiful design. Part off. Remount in jam chuck and finish off top. Sand. This is a very unusual piece and can be used with fine salt. Shake up and down to get the salt out.
These were two well thought out and unusual projects and two great demos employing many of the techniques of woodturning. Well done and thank you John.
CraobhEo Seminar 2022
John Flynn Off Centre Clock Demo
CraobhEo Seminar 2022
John Flynn Off Centre Clock Demo
CraobhEo Seminar 2022
John Flynn Off Centre Clock Demo
CraobhEo Seminar 2022
John Flynn Off Centre Clock Demo

CraobhEo Seminar 2022
John Flynn Off Centre Clock Demo
CraobhEo Seminar 2022
John Flynn Off Centre Clock Demo
CraobhEo Seminar 2022
John Flynn Off Centre Clock Demo

CraobhEo Seminar 2022
John Flynn Off Centre Clock Demo
CraobhEo Seminar 2022
John Flynn Off Centre Clock Demo
CraobhEo Seminar 2022
John Flynn Off Centre Clock Demo

CraobhEo Seminar 2022
John Flynn Off Centre Clock Demo

CraobhEo Seminar 2022
John Flynn Off Centre Clock Demo
CraobhEo Seminar 2022
John Flynn Off Centre Clock Demo
CraobhEo Seminar 2022
John Flynn Off Centre Clock Demo
CraobhEo Seminar 2022
John Flynn Off Centre Clock Demo
CraobhEo Seminar 2022
John Flynn Off Centre Clock Demo
CraobhEo Seminar 2022
John Flynn Off Centre Clock Demo

CraobhEo Seminar 2022
John Flynn Off Centre Clock Demo
CraobhEo Seminar 2022
John Flynn Off Centre Clock Demo
CraobhEo Seminar 2022
John Flynn Off Centre Clock Demo

CraobhEo Seminar 2022
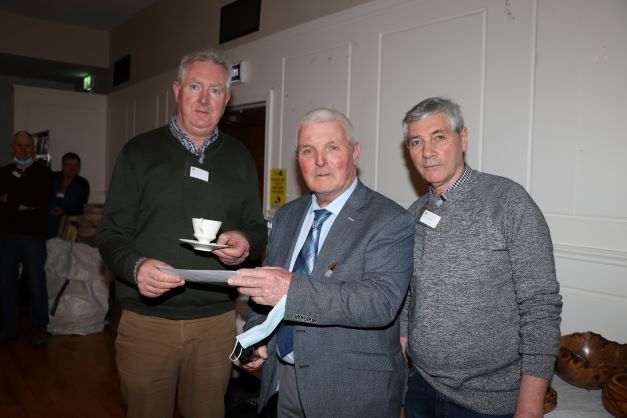
Pat O’Malley, John Flynn and Willie Creighton

CraobhEo Seminar 2022
John Flynn Off Centre Wall Clock Demo

CraobhEo Seminar 2022
John Flynn Off Centre Clock Demo
CraobhEo Seminar 2022
John Flynn Off Centre Clock Demo
CraobhEo Seminar 2022
John Flynn Off Centre Clock Demo
CraobhEo Seminar 2022
John Flynn Off Centre Clock Demo

CraobhEo Seminar 2022
John Flynn Off Centre Clock Demo
CraobhEo Seminar 2022
John Flynn Off Centre Clock Demo
CraobhEo Seminar 2022
John Flynn with his Off Centre Clock
20220311_132713 Web

CraobhEo Seminar 2022
John Flynn Salt and Pepper Shaker Demo
CraobhEo Seminar 2022
John Flynn Salt and Pepper Shaker Demo
CraobhEo Seminar 2022
John Flynn Salt and Pepper Shaker Demo

CraobhEo Seminar 2022
John Flynn Salt and Pepper Shaker Demo

CraobhEo Seminar 2022
John Flynn Salt and Pepper Shaker Demo
CraobhEo Seminar 2022
John Flynn Salt and Pepper Shaker Demo

CraobhEo Seminar 2022
John Flynn Salt and Pepper Shaker Demo
CraobhEo Seminar 2022
John Flynn Salt and Pepper Shaker Demo
CraobhEo Seminar 2022
John Flynn Salt and Pepper Shaker Demo

CraobhEo Seminar 2022
John Flynn Salt and Pepper Shaker Demo
CraobhEo Seminar 2022
John Flynn Salt and Pepper Shaker Demo
CraobhEo Seminar 2022
John Flynn Salt and Pepper Shaker Demo
CraobhEo Seminar 2022
John Flynn Salt and Pepper Shaker Demo
CraobhEo Seminar 2022
John Flynn Salt and Pepper Shaker Demo
CraobhEo Seminar 2022
John Flynn Salt and Pepper Shaker Demo
CraobhEo Seminar 2022
John Flynn Salt and Pepper Shaker Demo
CraobhEo Seminar 2022
John Flynn Salt and Pepper Shaker Demo
CraobhEo Seminar 2022
John Flynn Salt and Pepper Shaker Demo
CraobhEo Seminar 2022
John Flynn Salt and Pepper Shaker Demo

CraobhEo Seminar 2022
John Flynn Salt and Pepper Shaker Demo

CraobhEo Seminar 2022
John Flynn Salt and Pepper Shaker Demo

CraobhEo Seminar 2022
John Flynn Salt and Pepper Shaker Demo
CraobhEo Seminar 2022
John Flynn Salt and Pepper Shaker Demo
CraobhEo Seminar 2022
John Flynn Salt and Pepper Shakers

CraobhEo Seminar 2022
John Flynn with Pat O’Malley (L) and Willie Creighton (R)
Competition
Winner Graham Griffiths (Shannonside Chapter)
Second Pat Walsh (Dublin Chapter)
Third Martin Wilson (CraobhEo Chapter)
Segmented Colm Brennan (Sligo Chapter)
Peoples Prize Graham Griffiths (Shannonside Chapter))
CraobhEo Seminar 2022
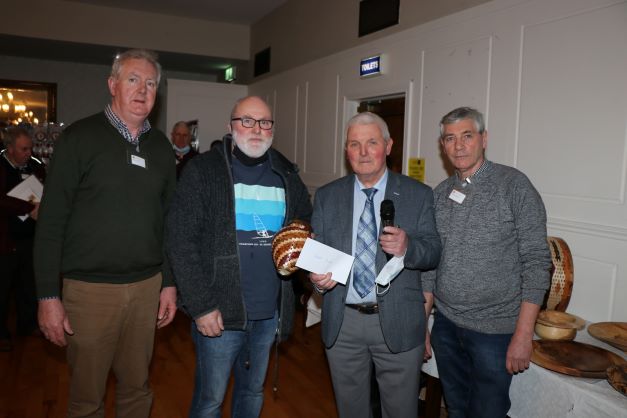
Graham Griffiths receiving his Overall Winner prize from Tom Jordan

CraobhEo Seminar 2022
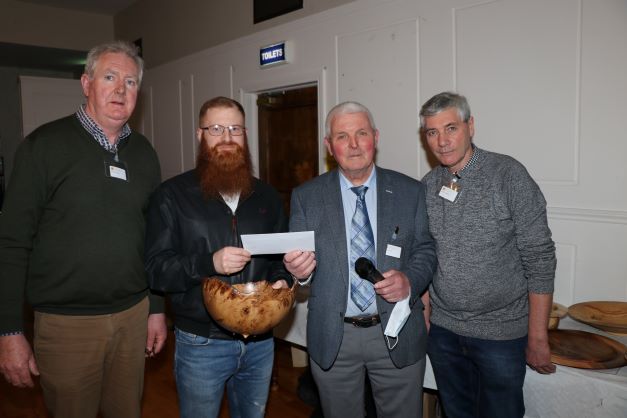
L-R; Martin Wilson, Pat Walsh (Runner Up), Tom Jordan and Willie Creighton
CraobhEo Seminar 2022
Martin Wilson Receiving his Third Prize from Tom Jordan with Willie Creighton (R)
CraobhEo Seminar 2022
Martin Wilson, Colm Brennan (Segmented Winner), Tom Jordan and Willie Creighton.
CraobhEo Seminar 2022
Martin Wilson, Graham Griffiths (Peoples Prize), Tom Jordan and Willie Creighton
CraobhEo Seminar 2022
Colm Brennan
CraobhEo Seminar 2022
Colm Brennan
CraobhEo Seminar 2022
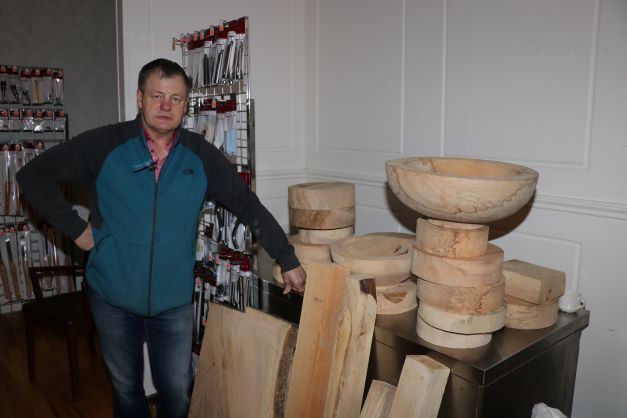
Richard Barrett

CraobhEo Seminar 2022
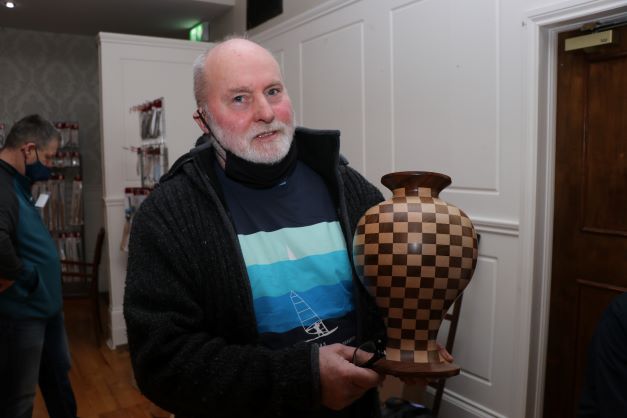
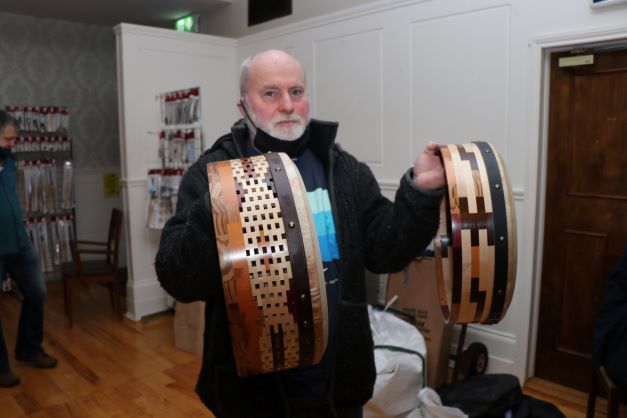
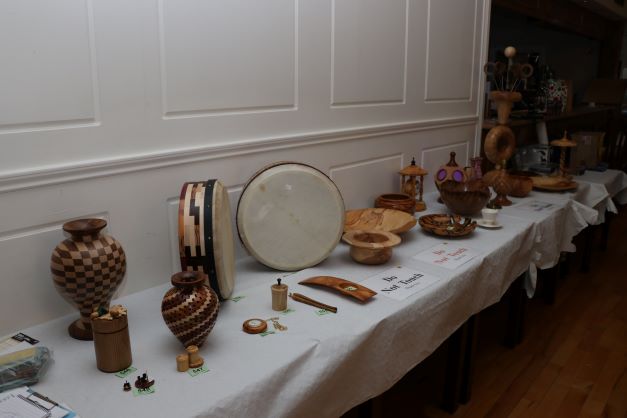
Competition pieces
CraobhEo Seminar 2022
Competition pieces
CraobhEo Seminar 2022
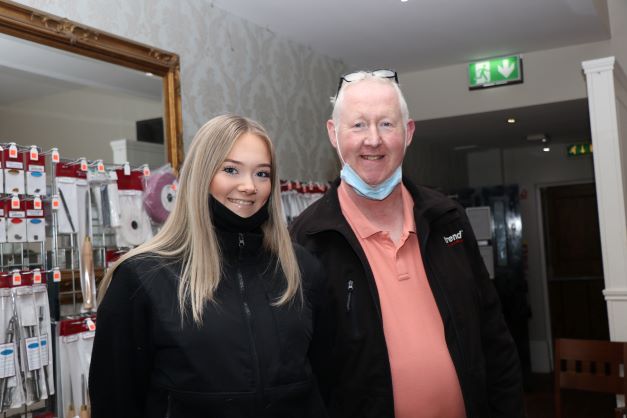
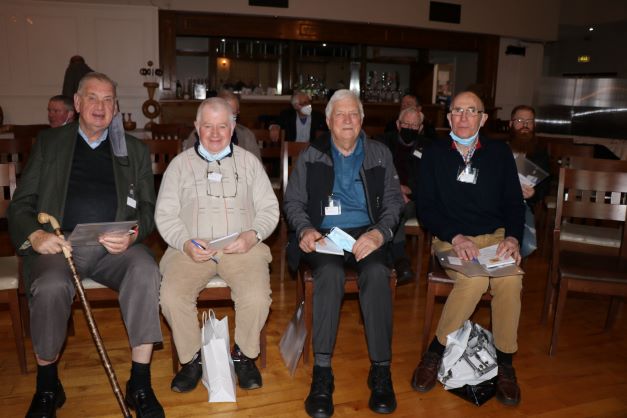
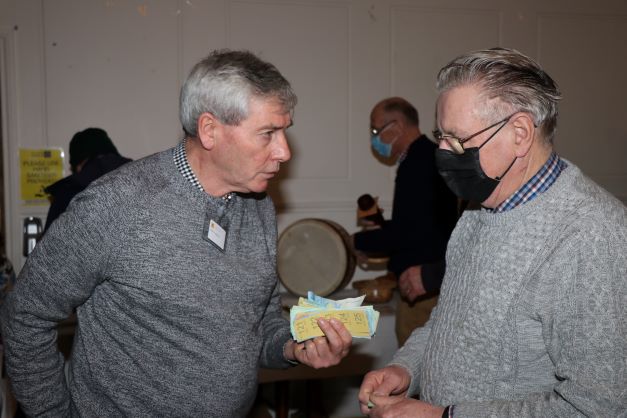
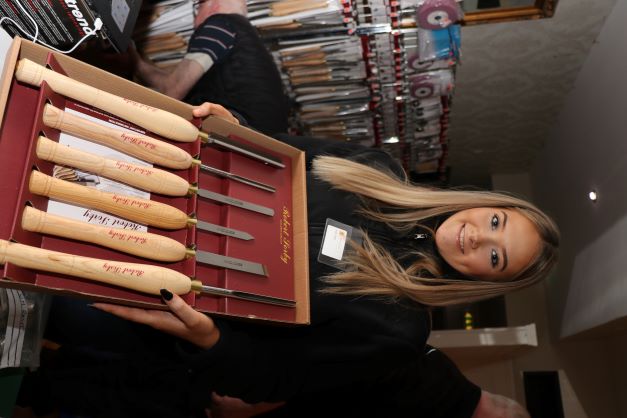
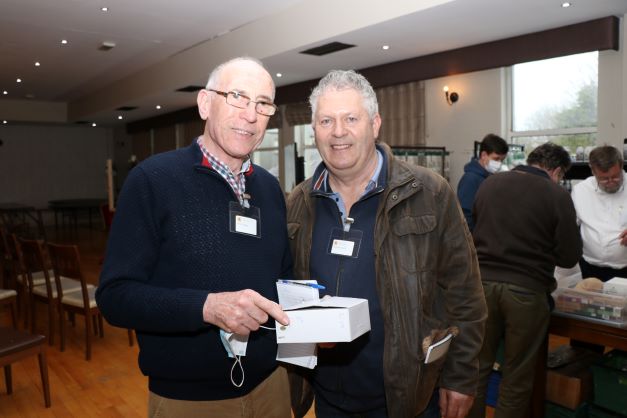
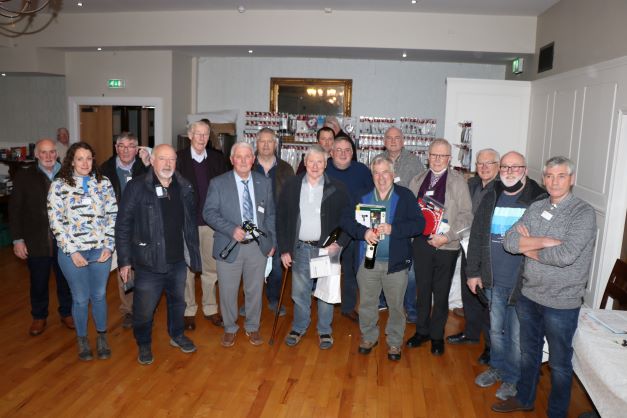
Images of The Day
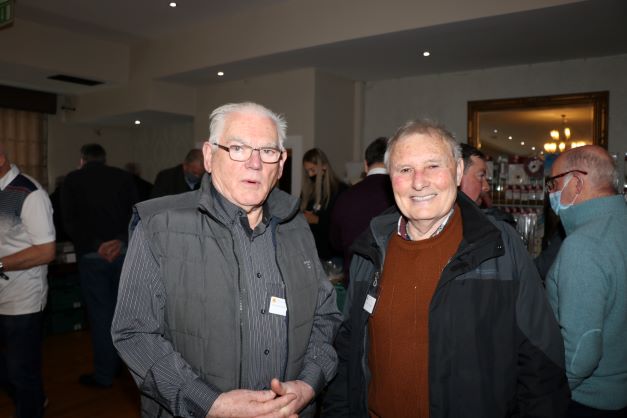
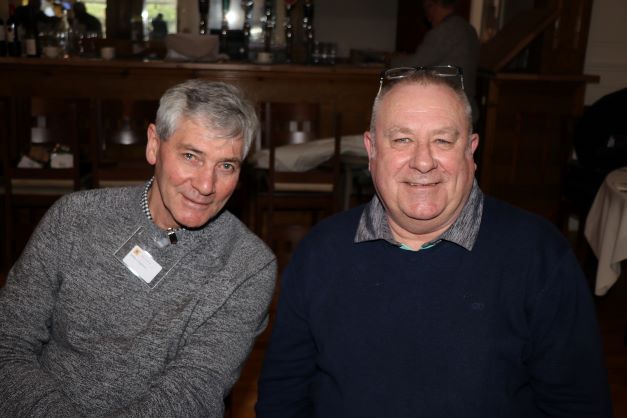
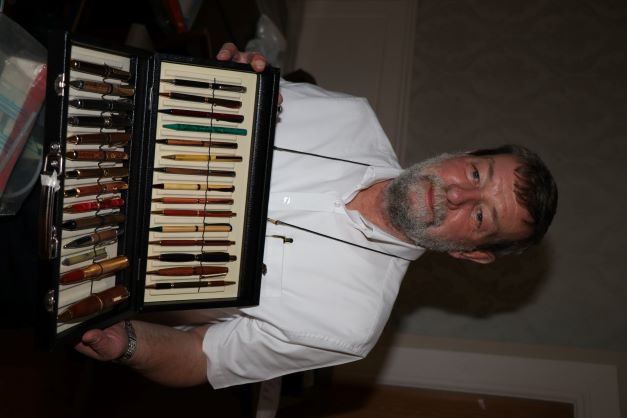
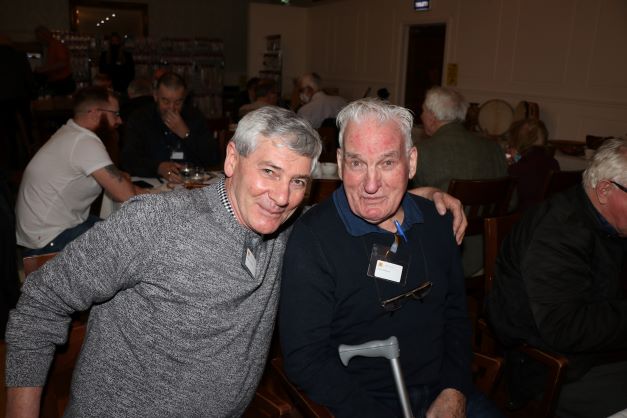
We had so many memories of our first meeting back after the two year break. Here are just a few.
Thanks to all who attended, worked so hard to make it a success and last but not least our hosts for the day, Cathal and the Gateway staff.
CraobhEo Seminar 2022
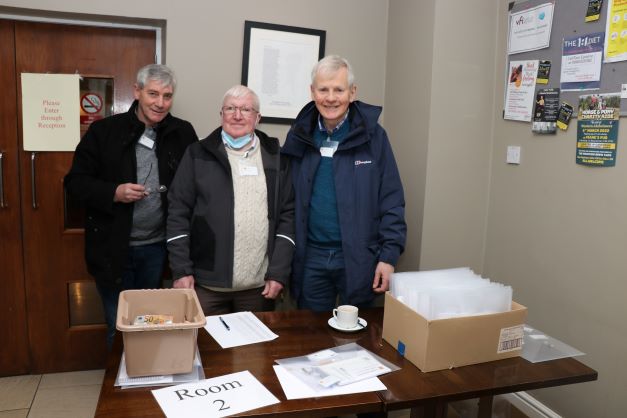
Willie Creighton, John Mullen and Pat O’Malley meeting everyone at the door.
CraobhEo Seminar 2022

CraobhEo Seminar 2022
CraobhEo Seminar 2022
CraobhEo Seminar 2022
CraobhEo Seminar 2022
CraobhEo Seminar 2022

CraobhEo Seminar 2022

CraobhEo Seminar 2022
CraobhEo Seminar 2022
CraobhEo Seminar 2022
CraobhEo Seminar 2022
CraobhEo Seminar 2022
CraobhEo Seminar 2022
CraobhEo Seminar 2022
Spot Prize winners