The 2020 Craobh Eo Seminar was held on Sat 29th February in the Gateway Hotel, Swinford.
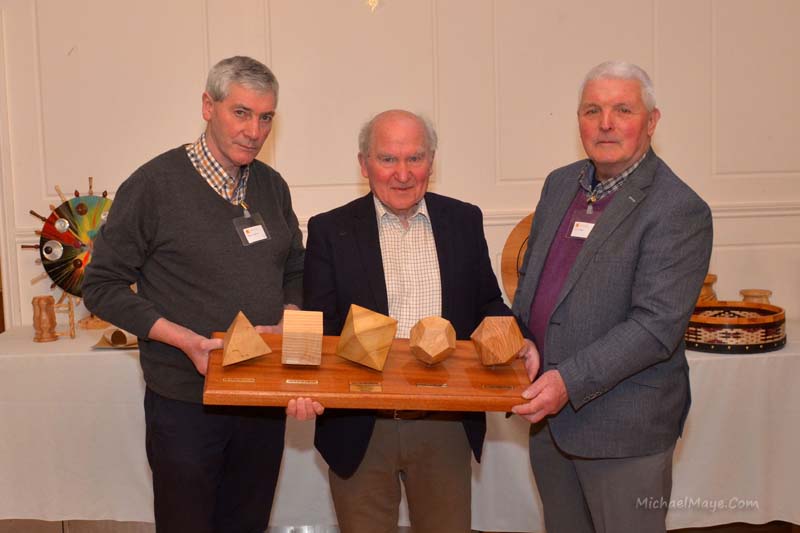
Prof Seamus Caulfield, Archaeologist and Céide Fields opened the seminar and welcomed delegates from around the country to Swinford, Co. Mayo.
Demonstrators for the day were Paul Hannaby, Chairman AWGB (UK) and Eugene Grimley, Ulster Chapter Chairman
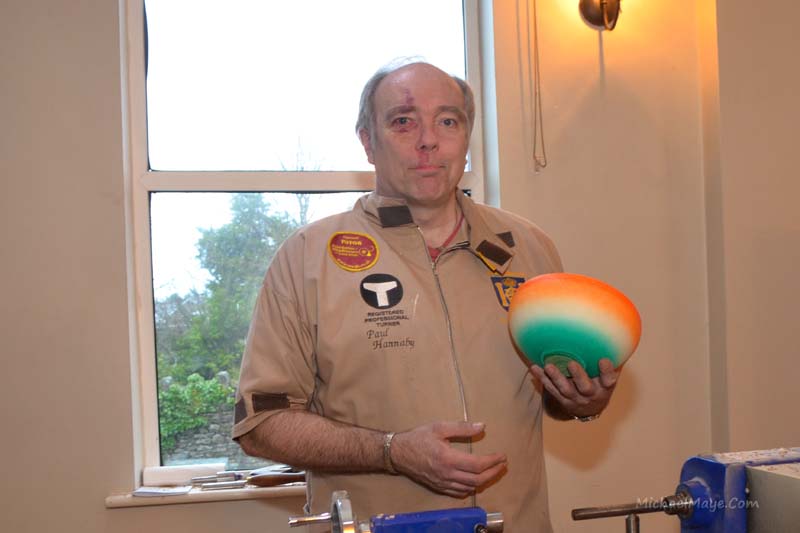
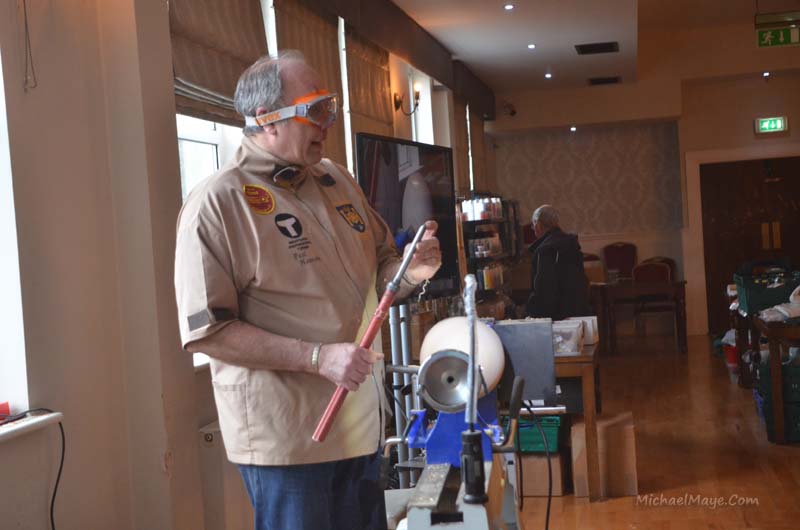
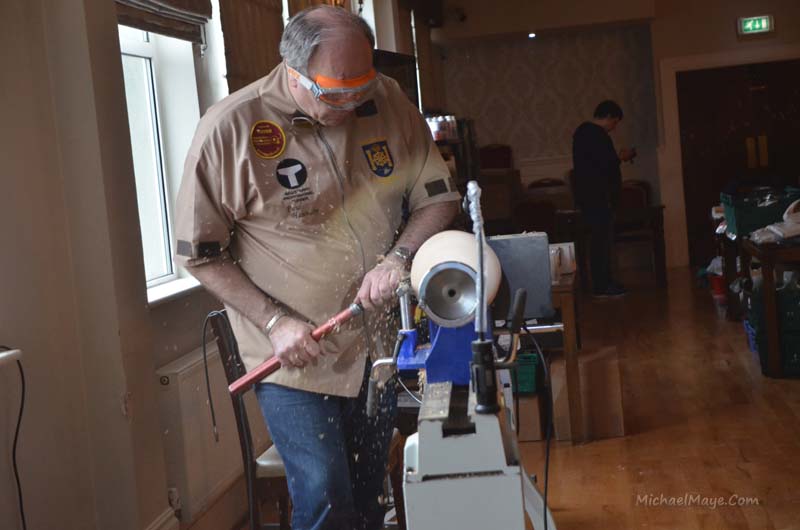
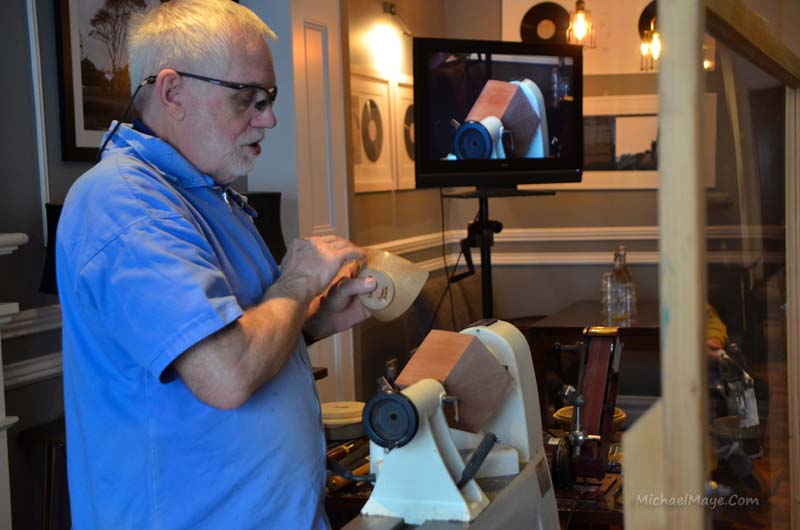
Paul Hannaby
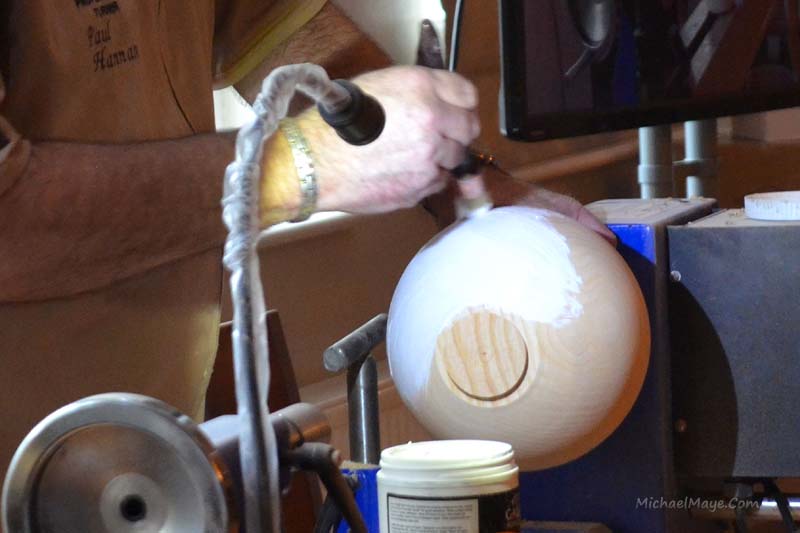
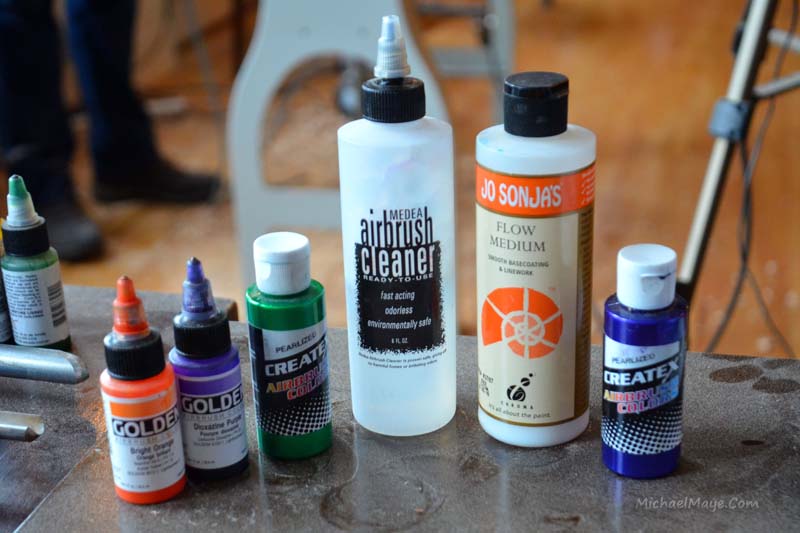
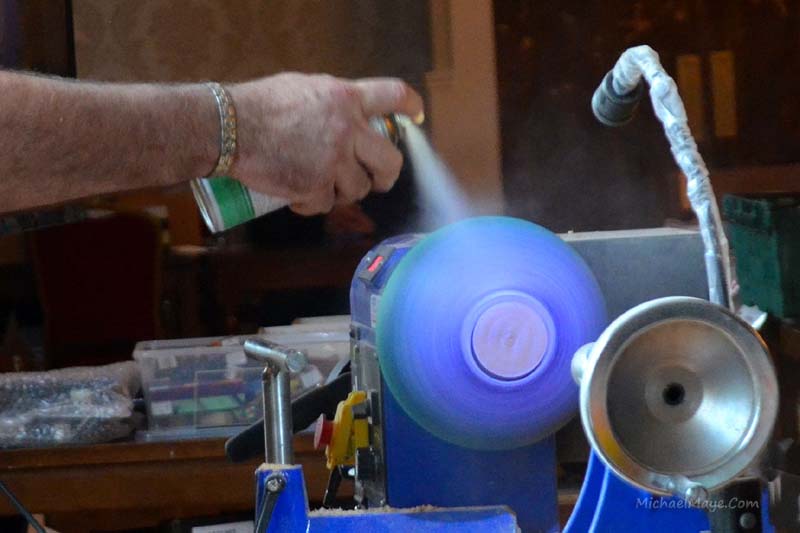
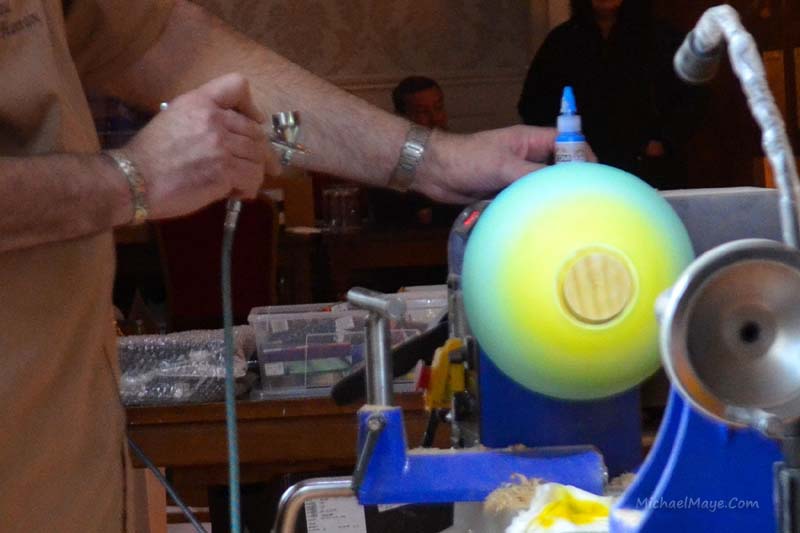
Ceramic bowl effects using acrylic texture and airbrushed “sunset” Colours.
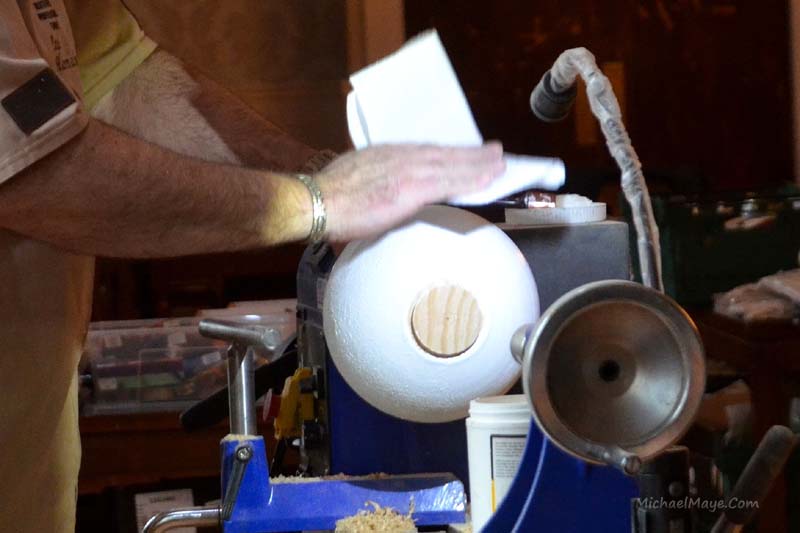
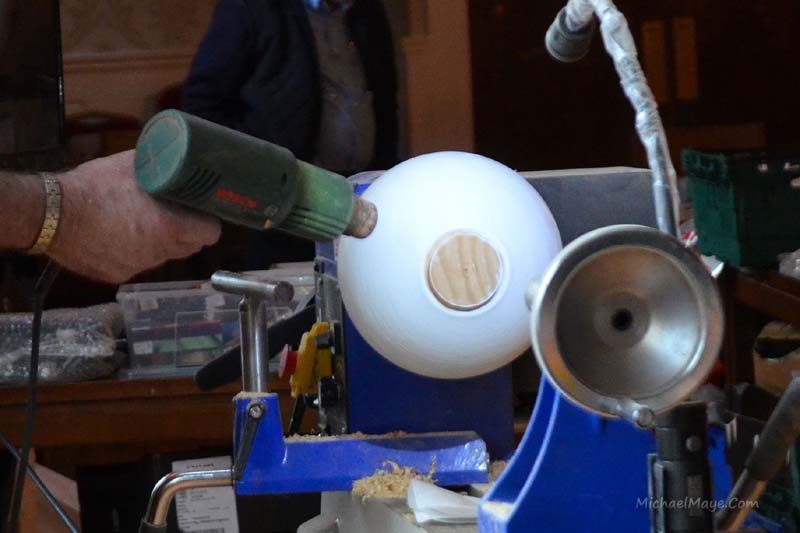
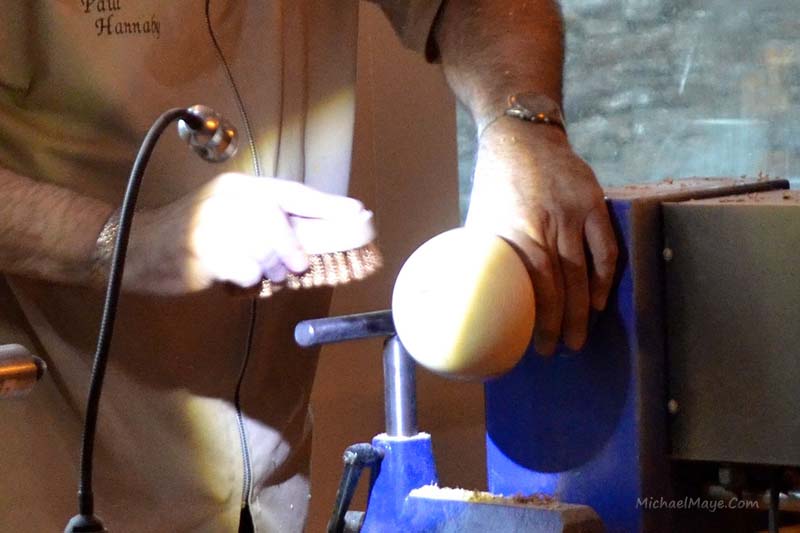
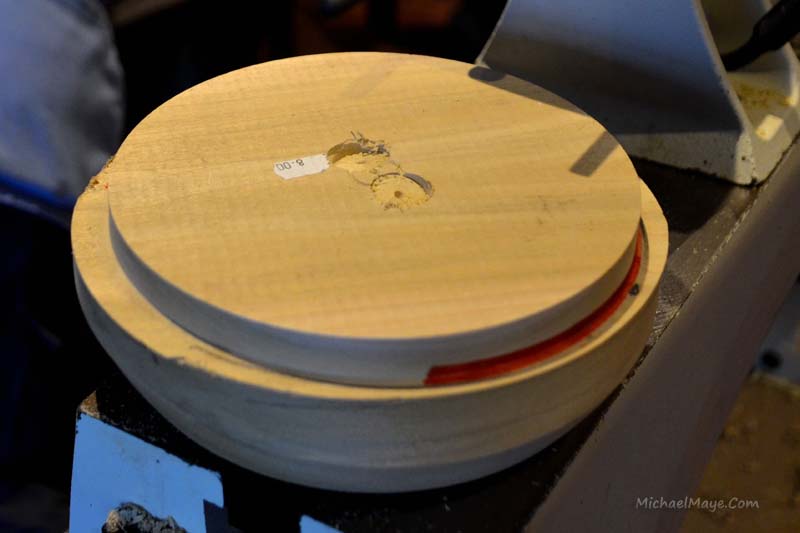
Prepare a bowl blank of 9″ by 4″ and turn outside to shape. Colour will be applied to the outside so this needs most attention. Paul demonstrated many different cuts, as he usually does throughout his demos. He used a flexible curve to identify low spots. The outside is sanded with 120 and 180 grit before applying an acrylic white Gesso primer liberally with a brush. With lathe turning slowly, use brush on surface to generate texture. You can also use other tools for different textures or dab with paper towel. Dry with heat gun or leave to dry naturally.
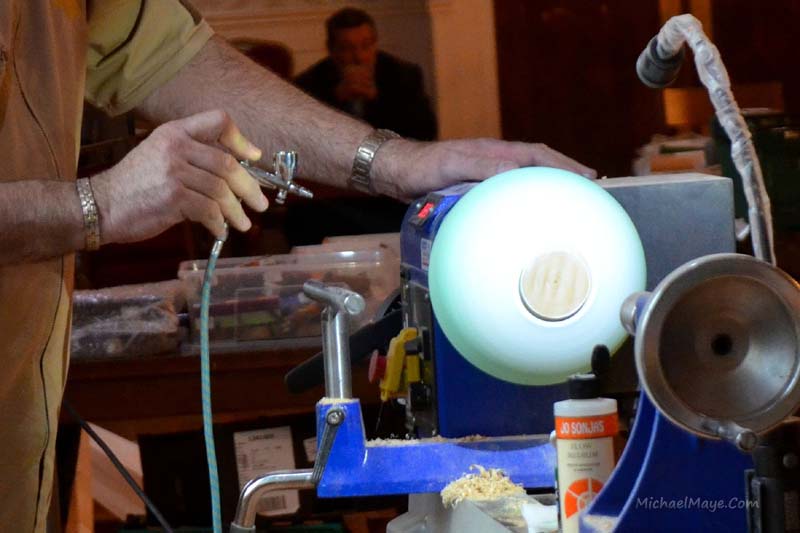
A discussion on airbrushes and how to apply colours followed. A gravity feed airbrush was used here with an airbrush compressor. He also showed how to clean airbrush gun with water and airbrush cleaner which needs to be done before paint hardens. Paul uses scenes from nature to inspire, like a sunset. Colours can be opaque or translucent. Some tips from Paul on colouring and how to apply. Start with lighter colour and apply individual colours to paint your scene. Seal the surface with acrylic satin lacquer.
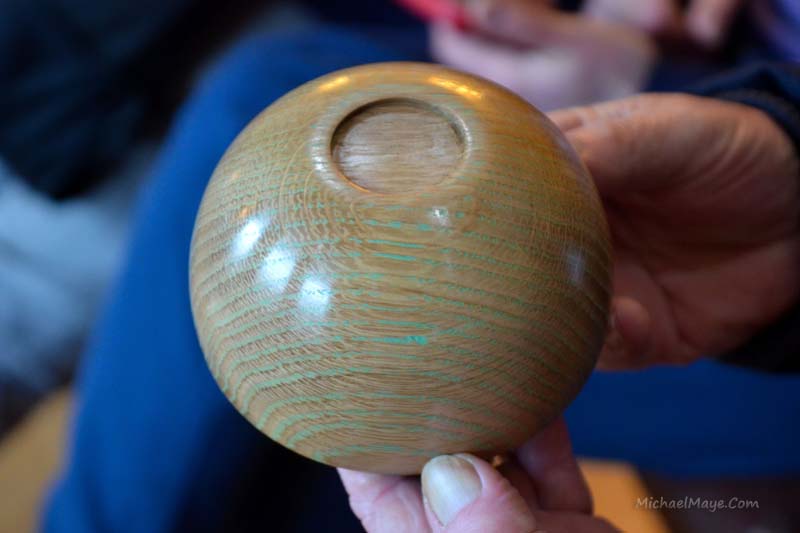
Paul did another example using the Irish flag colours, orange, green, white. Another technique is to use a fine sandpaper to remove high points and expose Gesso underneath and finish with acrylic lacquer.
Colour, ebonising and grain fill effects.
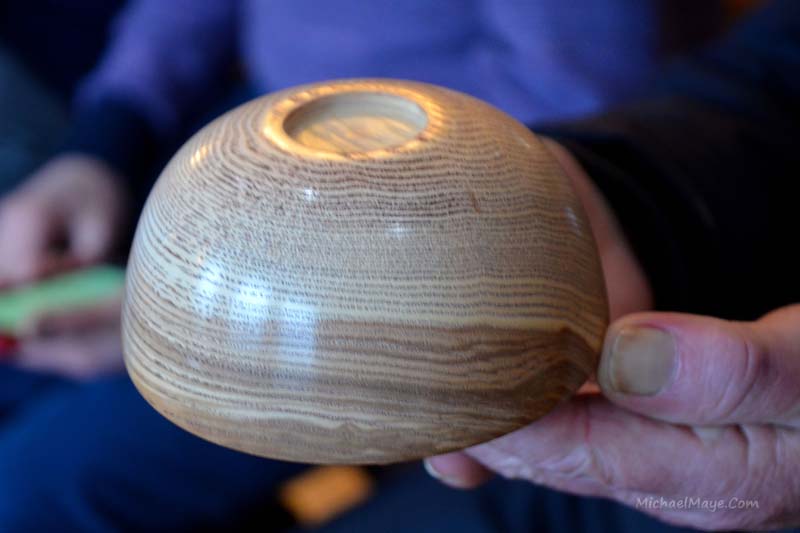
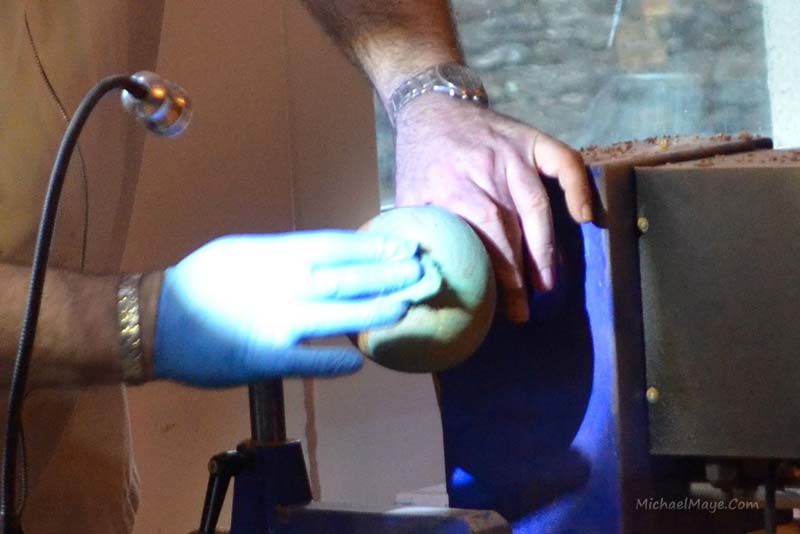
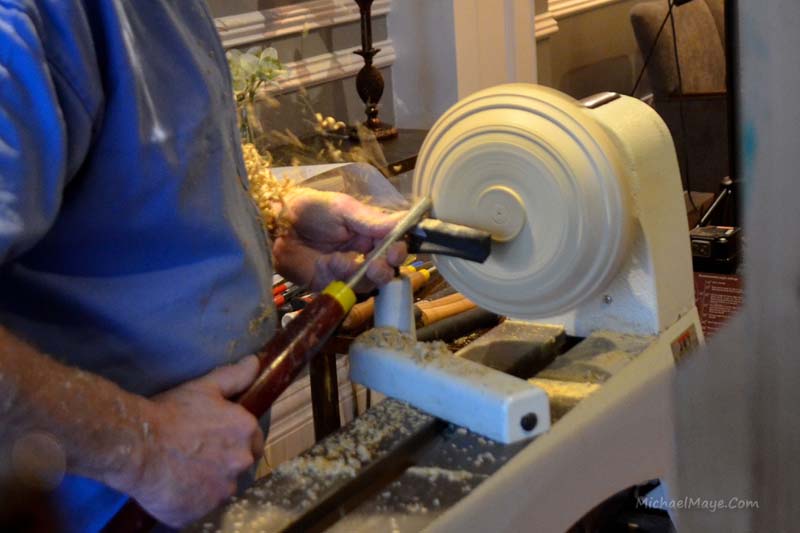
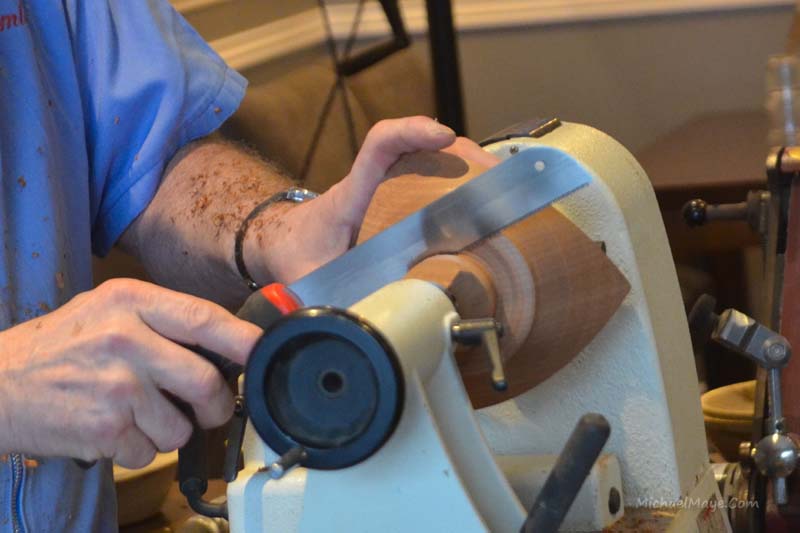
Mount oak bowl blank, true up and turn spigot for techucking. Shape outside of bowl. Air dried wood nicer to turn. Plenty of tips as Paul goes along, shearing cuts, avoiding breakout at top of bowl by pulling down. Use the flexible curve again to check finish. Sand with 120, 180, 240, 400 grits. Apply water to raise grain, dry and sand. Ebonise with a mix of vinegar and steel wool solution previously mixed. Dab off excess. Works very well with grain in the wood. Seal with acrylic sanding sealer and polish it up.
For the grain fill there are lots of options out there that you can explore yourself. Majority are waxed based colours but you can also use acrylic paint as grain fill. Finish coat used here is Renaissance wax as it’s a more durable finish.
Paul did another example using a small bowl. Mount on screw chuck. Turn outside, sand and apply sanding sealer. In this instance use Ochre pigment powder for grain fill. Remove excess with paper towel to reveal pigment in the pores.
Final example was a small bowl prepared as above, sanded, sealed and burnished. This time Paul uses third degree paste and again wipes it off with a paper towel. It gives a different finish.
Thanks Paul for being with us on the day and for filling in at short notice. It was wonderful to have you with us and we hope you enjoyed your visit to Mayo.
CraobhEo Seminar 2020
Paul Hannaby Demo
CraobhEo Seminar 2020
Paul Hannaby Demo

CraobhEo Seminar 2020
Paul Hannaby Demo
CraobhEo Seminar 2020
Paul Hannaby Demo
CraobhEo Seminar 2020
Paul Hannaby Demo
CraobhEo Seminar 2020
Paul Hannaby Demo
CraobhEo Seminar 2020
Paul Hannaby Demo
CraobhEo Seminar 2020
Paul Hannaby Demo
CraobhEo Seminar 2020
Paul Hannaby Demo

CraobhEo Seminar 2020
Paul Hannaby Demo
CraobhEo Seminar 2020
Paul Hannaby Demo

CraobhEo Seminar 2020
Paul Hannaby Demo

CraobhEo Seminar 2020
Paul Hannaby Demo
CraobhEo Seminar 2020
Paul Hannaby Demo

CraobhEo Seminar 2020
Paul Hannaby Demo
CraobhEo Seminar 2020
Paul Hannaby Demo
CraobhEo Seminar 2020
Paul Hannaby Demo
CraobhEo Seminar 2020
Paul Hannaby Demo
CraobhEo Seminar 2020
Paul Hannaby Demo
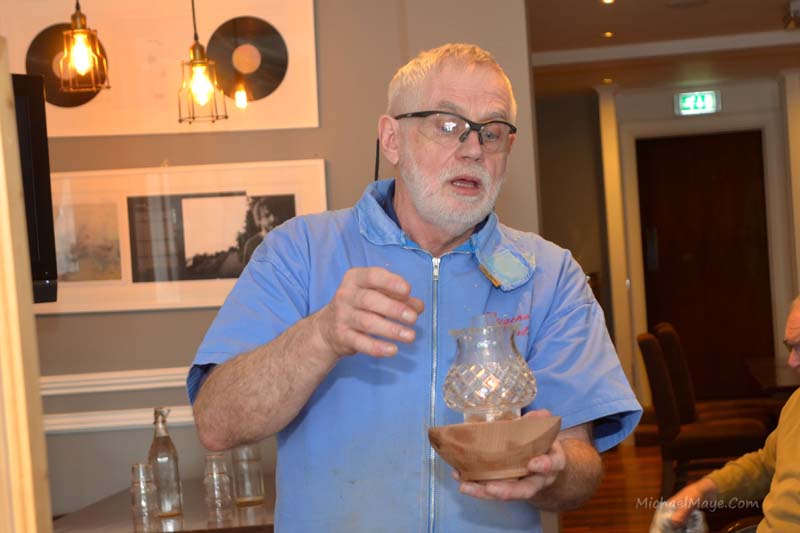
Eugene Grimley
A Tri-corner oil lamp with chimney
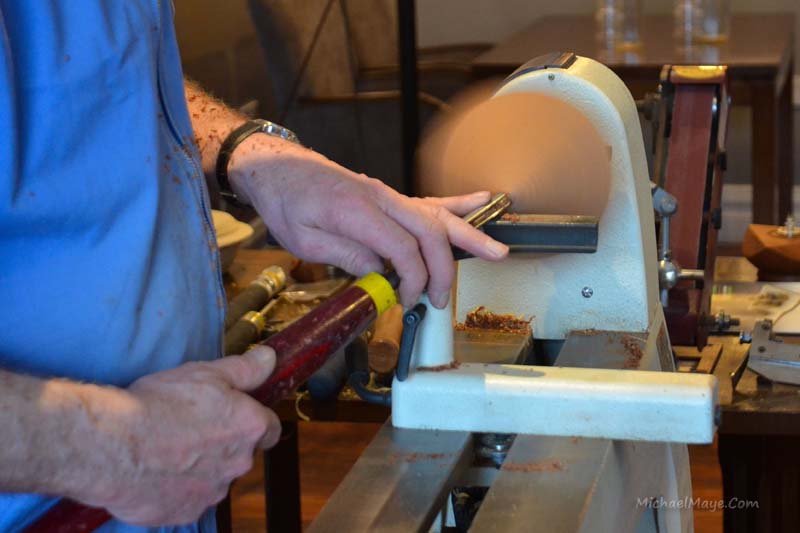
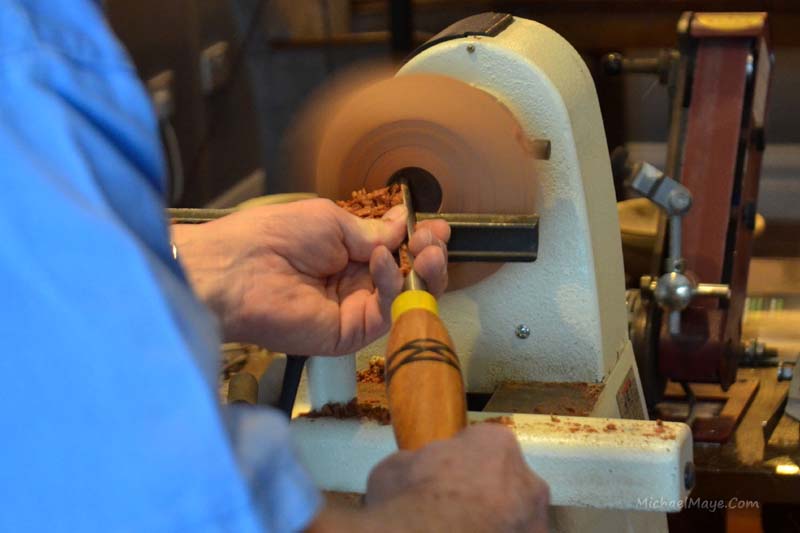
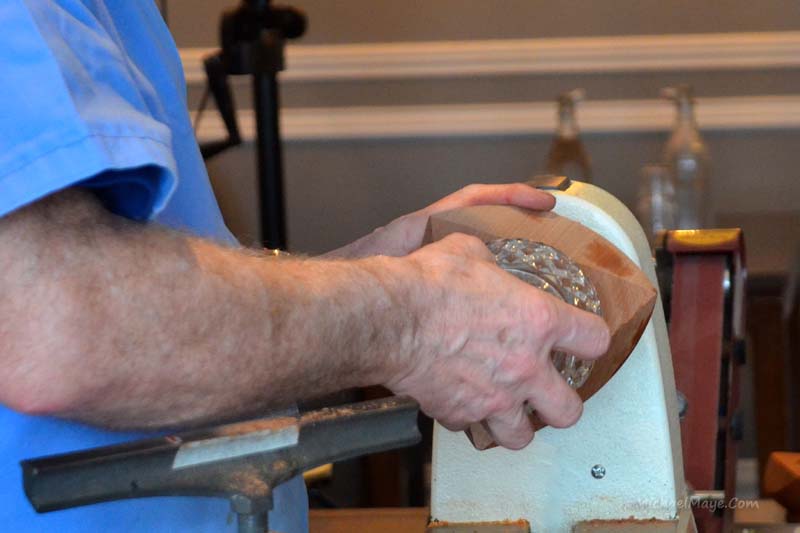
Mount a preprepared 110 mm cube held at corners between headstock and tailstock without using centres. Start turning using eyeline as a guide rather than looking at tool. Shape the outside of the lamp.Turn from the three corners down to the base in a uniform shape. Mark out the base and carefully undercut to a concave shape. Turn a chucking spigot underneath the base. Remount in chuck for hollowing. Approach middle point with care. Turn recess for lamp to sit into in a cylindrical shape. You can hollow out a box or a recess for a tealight holder in the same way. Go gently with reasonable speed to avoid tear out. Sand cube before you start and sand as you do each step. Turn a lip at the top of the recess for the inner globe. Turn recess for outer globe to fit into, in this case a crystal lookalike globe. Make a jam chuck to fit recess to tidy up the bottom. The kits are available from woodturning suppliers.
A handled bowl
Mount bowl blank between centres and turn a basic shape. Mark the off centre position for turning, 20 mm in from centre in this case. Guide for offset position is 5 mm offset for each 25 mm of bowl thickness.You need to work this out. Drill a small hole for bit to hold itself in place as you go off centre.
Reduce the diameter of the top edge of the bowl to desired depth, say 15 mm by 15 mm. Mount in off centre position 1. Remove the rim on side of the bowl corresponding to position 1. Remount in offset position 2 and remove other side of bowl. Remount again in normal position and start shaping the outside of the bowl. Undercut up to the handle itself to achieve desired shape and design. As woodturners, it’s nice to turn items that we shouldn’t be able to do.
Remount the bowl again to hollow out the centre. Attend to the detail at the top of the rim and then hollow out starting at the top and working down in layers.
Well done Eugene and thanks for very entertaining demos as usual. It was a pleasure to have you in Mayo for the weekend.

CraobhEo Seminar 2020
Eugene Grimley Demo
CraobhEo Seminar 2020
Eugene Grimley Demo
CraobhEo Seminar 2020
Eugene Grimley Demo
CraobhEo Seminar 2020
Eugene Grimley Demo
CraobhEo Seminar 2020
Eugene Grimley Demo
CraobhEo Seminar 2020
Eugene Grimley Demo

CraobhEo Seminar 2020
Eugene Grimley Demo
CraobhEo Seminar 2020
Eugene Grimley Demo
CraobhEo Seminar 2020
Eugene Grimley Demo
CraobhEo Seminar 2020
Eugene Grimley Demo
CraobhEo Seminar 2020
Eugene Grimley Demo
Competition
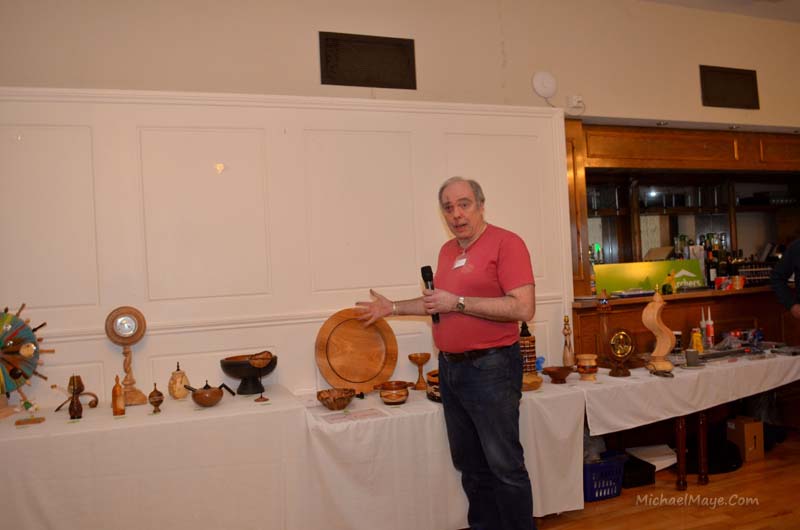
The adjudication was done by Paul Hannaby and Eugene Grimley. Paul then did a critique of competition items, complimenting the standard on display and encouraging good design by selecting examples to illustrate his points. Thanks to Paul and Eugene.
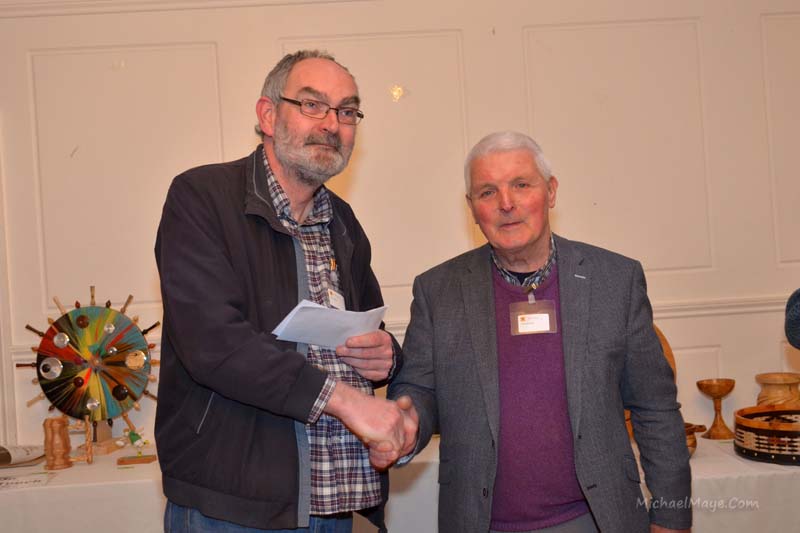
Winner Pat Walsh Dublin Chapter
Second Pat Walsh Dublin Chapter
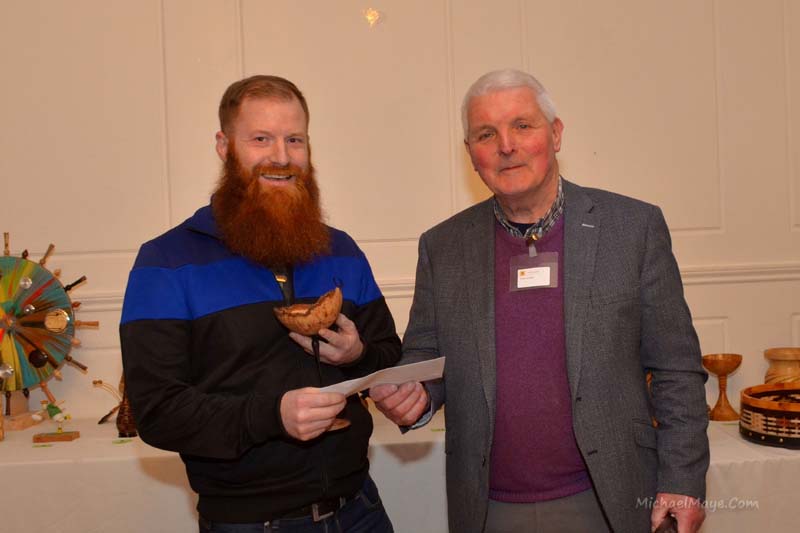
Third Graham Griffiths Shannonside
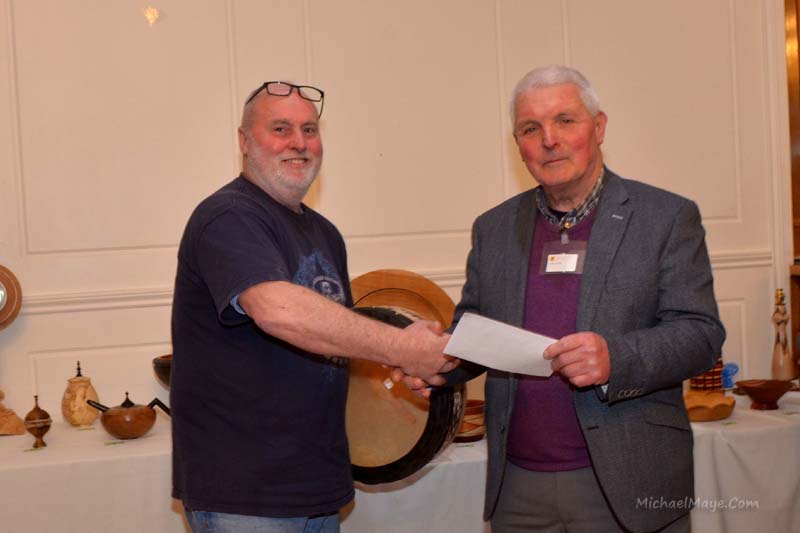
Segmented Colm Brennan Sligo
Peoples Choice Graham Griffiths Shannonside
CraobhEo Seminar 2020
Pat Walsh receives his 1st & 2nd prizes from Tom Jordan
CraobhEo Seminar 2020
Graham Griffiths receives his 3rd prize and peoples choice prize from Tom Jordan
CraobhEo Seminar 2020
Colm Brennan receives his segmented prize from Tom Jordan
CraobhEo Seminar 2020
Paul Hannaby critiques competition pieces.
CraobhEo Seminar 2020
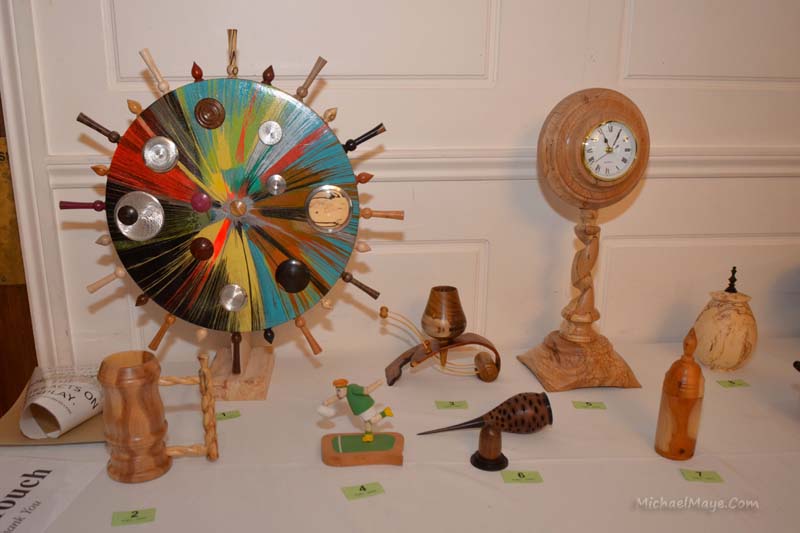
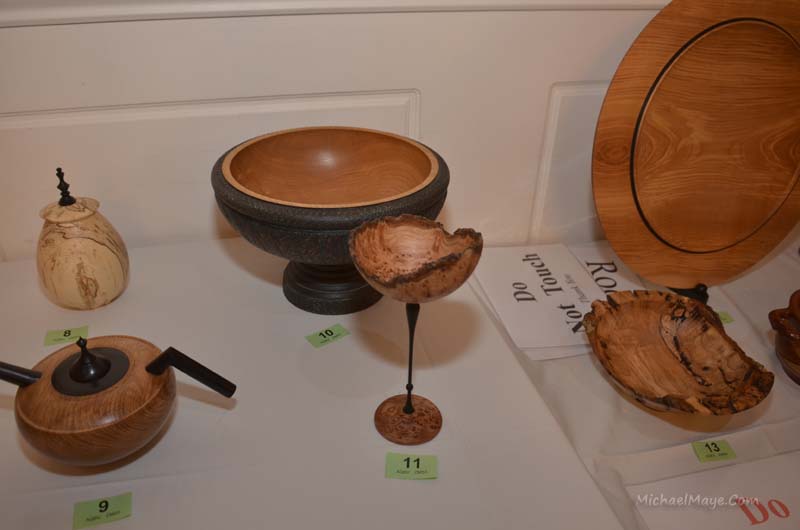
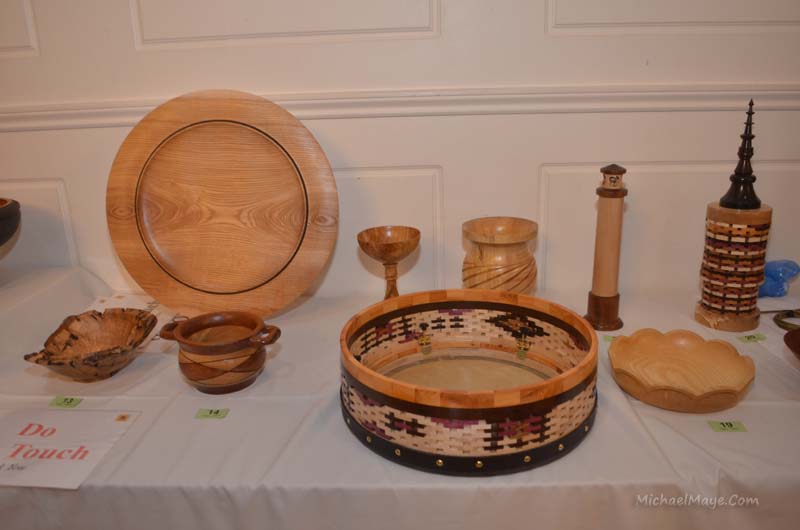
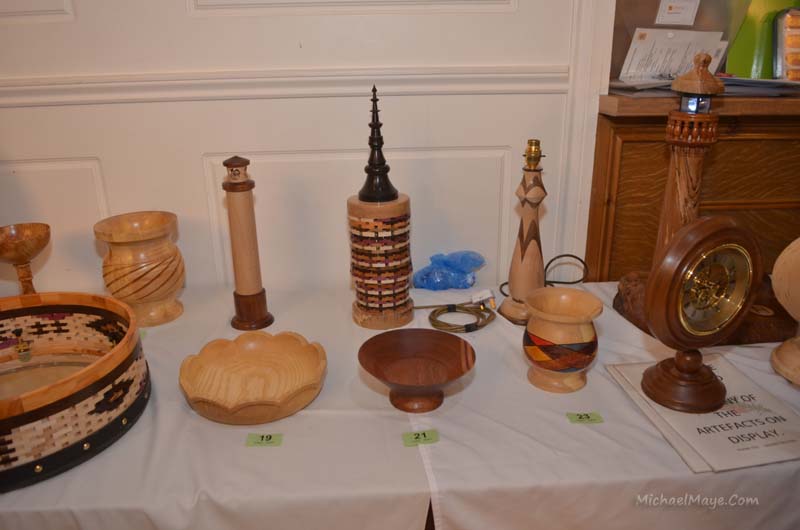
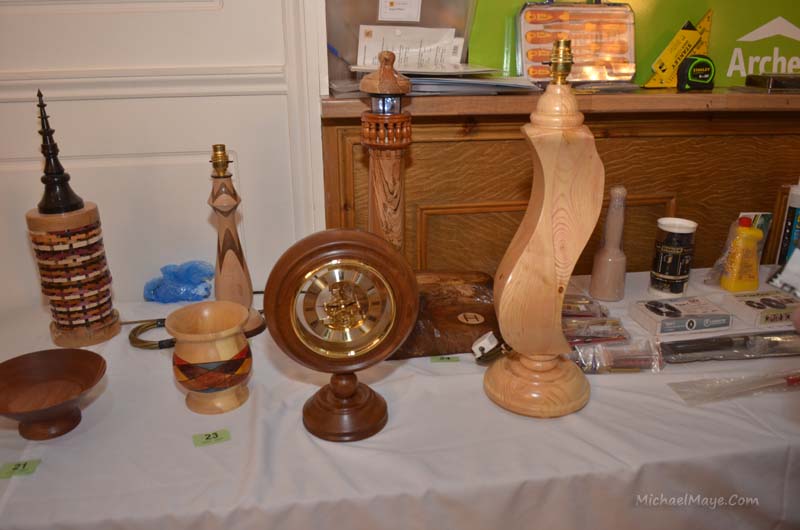
Competition entries
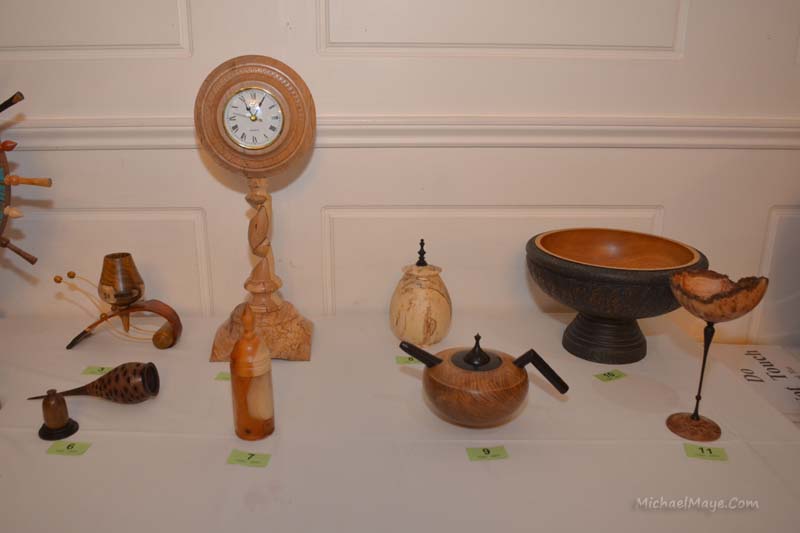
CraobhEo Seminar 2020
Competition entries
CraobhEo Seminar 2020
Competition entries
CraobhEo Seminar 2020
Competition entries
CraobhEo Seminar 2020
Competition entries
CraobhEo Seminar 2020
Competition entries